Small Batch Vanilla Peach Jam

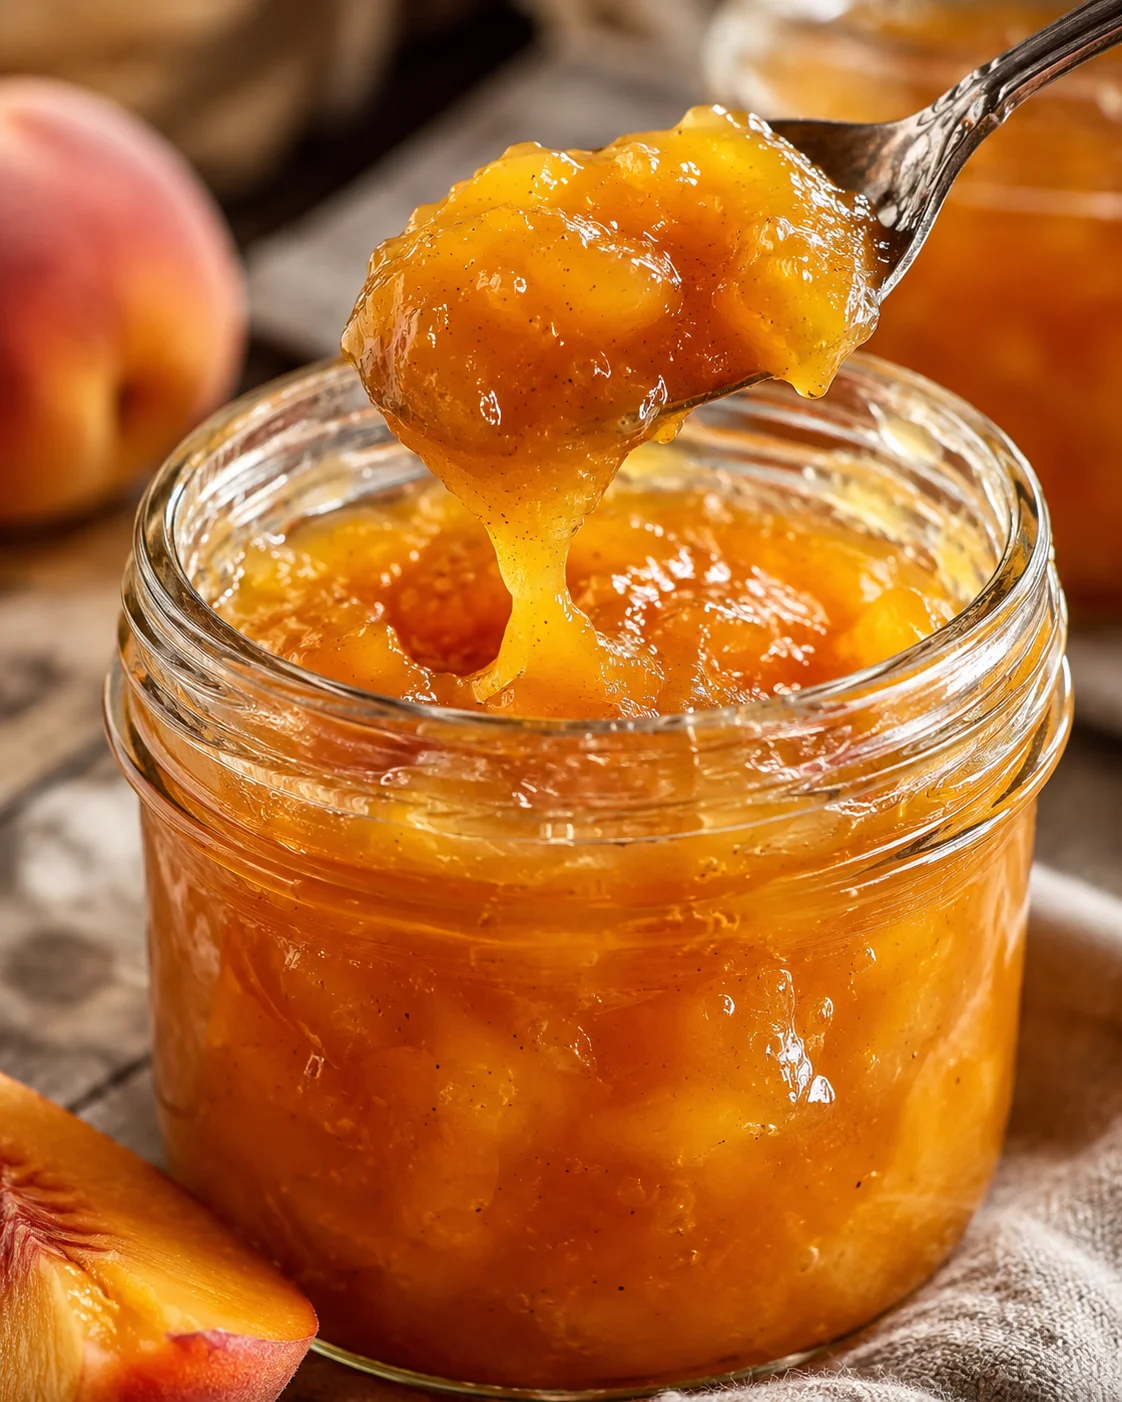
This small batch vanilla peach jam recipe is your go-to for turning ripe, juicy peaches, sugar, and a hint of vanilla into about 2 cups of fresh, spreadable jam. Designed for just one or two jars, it skips the fuss of full canning. The slow simmering process thickens the fruit naturally—no pectin needed. You’ll spend around 20 minutes prepping and about 2 hours gently cooking until you get the perfect jam consistency.
When summer peaches are perfectly ripe, they shine in this simple recipe: just fresh peaches, sugar, and a splash of vanilla come together, slowly cooking into roughly 2 cups of sweet, spoonable vanilla peach jam. This recipe keeps things small, so you don’t have to dive into complicated canning — just enough for a couple of jars that are perfect for spreading on toast, dolloping on scones, or swirling into ice cream.
Here’s the lowdown on what you’ll get and what to plan for:
- Yield: about 2 cups (two 250 mL or half-pint jars).
- Hands-on time: roughly 20 minutes; simmering and reduction take around 2 hours (time varies by how ripe your peaches are and how finely you chop them).
- Ingredients and method: just peaches, sugar, and vanilla extract—no pectin added; the jam thickens naturally as the fruit breaks down and the liquid evaporates.
- Storage: these jars are meant to be refrigerated and will keep fresh for up to six months when sealed and chilled properly.
Expect a bright, fruity flavor with a cozy vanilla undertone, a glossy texture that’s perfect for spooning, and an easy, hands-on cooking process that involves stirring a bit more often as the jam thickens. If fresh, easy preserves are your thing, this small batch vanilla peach jam recipe is a winner.
What Makes It Special
- Small batch makes it manageable: about 2 cups total (two 250 mL or half-pint jars), ideal for those who want fresh jam without dealing with big batches and lengthy canning.
- Simple ingredient list: peaches, sugar, and vanilla keep the flavors pure and fresh.
- No pectin needed: the jam thickens naturally from slow cooking, so you get a clean, natural taste without additives.
- Super versatile: enjoy it on morning toast, stirred through ice cream, or spooned onto your favorite baked goods.
Simple Ingredients
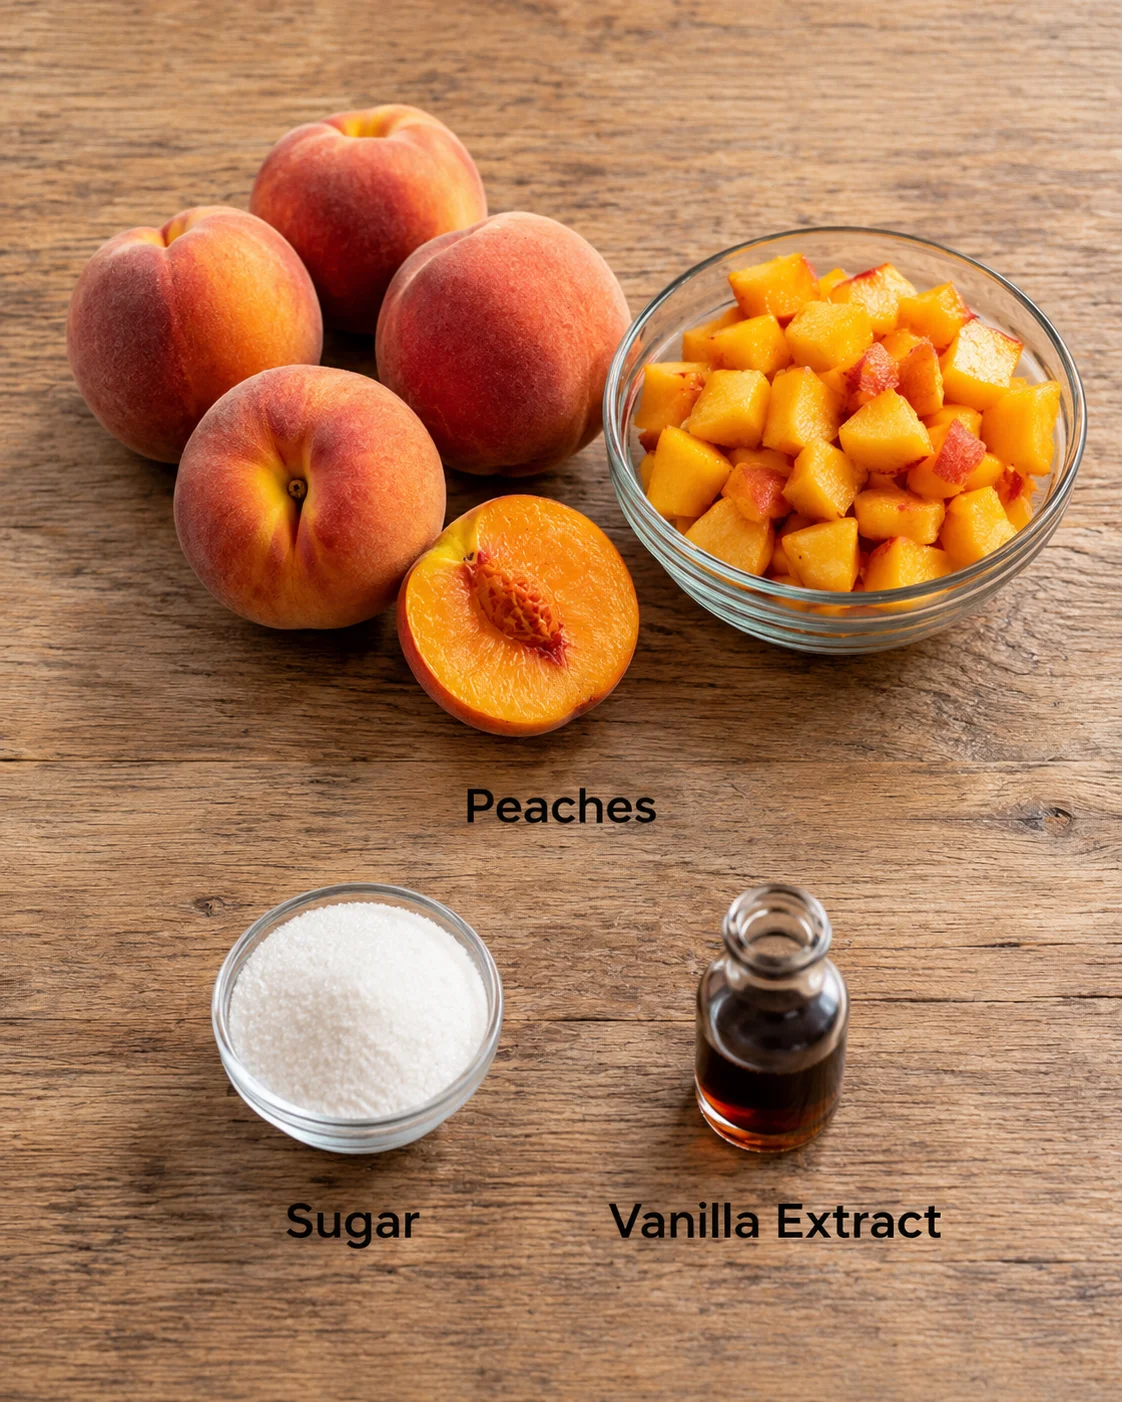
- 3 pounds peaches, about 12 peaches, pits removed, flesh finely chopped
- 1 cup sugar
- 2 teaspoons vanilla extract
Step-by-Step Method
- Pit the peaches and finely chop (peel by blanching and shocking if desired, or wipe the fuzz and dice).
- Combine chopped peaches and sugar in a medium, deep saucepan.
- Place the saucepan over medium heat and stir until the mixture just starts to bubble.
- Reduce heat to low and simmer uncovered, stirring regularly to prevent sticking and burning.
- Stir at least every 20 minutes and increase frequency as the jam thickens.
- Skim off any foam that forms on the surface.
-
Cook slowly until the jam is thick and glossy and coats a spoon (test a spoonful on a cold plate for a wrinkle test).
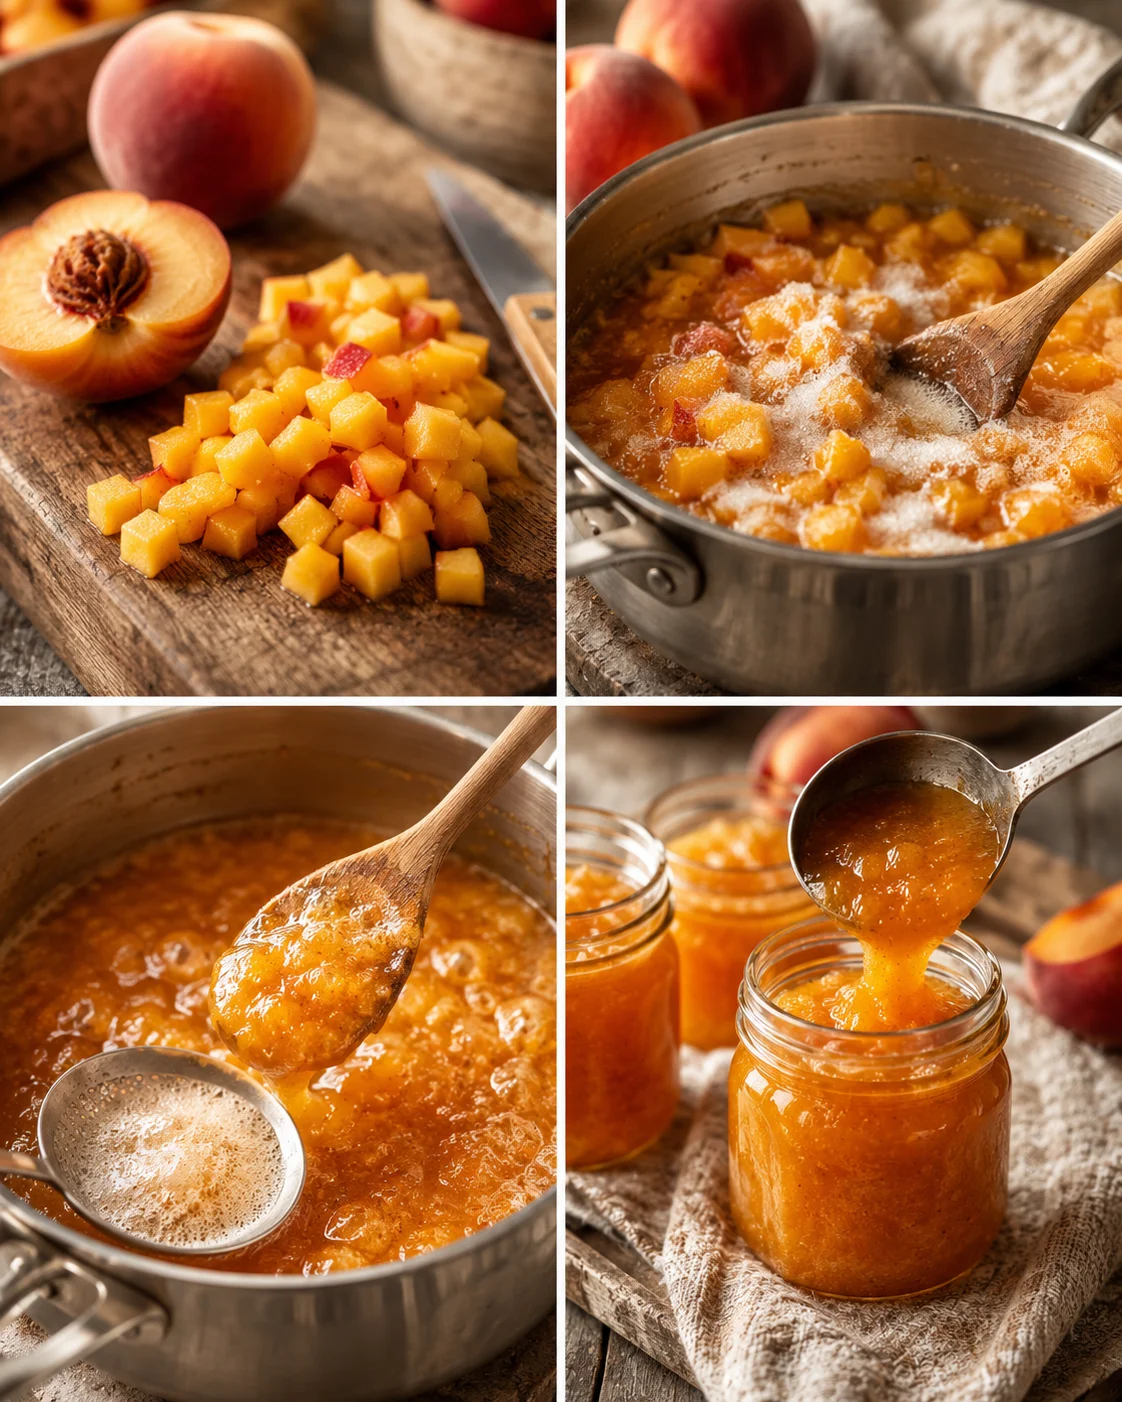
- Remove the pot from heat and stir in the vanilla extract.
- Sterilize jars and lids by washing in hot, soapy water and warming in the oven or with hot water.
- Carefully ladle the hot jam into sterilized jars, leaving a little space at the top.
- Wipe the jar rims clean, place lids on, and tighten until you feel resistance.
- Set the filled jars on a towel and leave them undisturbed for at least 12 hours to allow seals to form.
Tips for Best Results
- Choose fully ripe peaches for the sweetest, most flavorful jam—unripe fruit takes longer to cook and will taste more tart.
- Chop the peaches into small bits for quicker breakdown and less cooking time.
- A heavy-bottomed saucepan is your best friend here to stop burning as the jam slowly reduces.
- Keep stirring especially once it starts to thicken so nothing burns on the bottom.
- If you see foam form on top while cooking, skim it off for a clearer jam.
- Sterilize jars by washing in hot soapy water and warming them in the oven or with hot water before filling. Always use fresh sealing rings for safe storage.
- Patience is key! Since no pectin is added, the jam thickens only through evaporation during those couple of hours on the stove.
Mix-Ins and Substitutions
- Try the same technique with plums or apricots—the jam will taste just as delightful. Plums usually cook down faster, while apricots and peaches need more time.
- If fresh peaches aren’t an option, frozen ones work too but expect a longer cooking time since frozen fruit holds more water.
- If you want chunkier texture, leave the pieces bigger. For a smoother jam, mash gently with a potato masher or pulse briefly in an immersion blender before a quick extra cook.
Storage and Shelf Life
This vanilla peach jam recipe is designed for small batches that go straight into the fridge, not for full canning. Once jars are sealed and cooled, keep them refrigerated and enjoy within six months for the best flavor and freshness.
If you want to preserve lots of jam for a longer shelf life without refrigeration, you’ll need to scale up and use proper water-bath canning techniques following safe guidelines. This small batch recipe skips that step so you get fresh jam fast.
When reheating jam to loosen it, warm gently on the stove or zap a small amount in the microwave for a few seconds—stir while warming for an even consistency.
Common Questions
Q: Do I need pectin for this vanilla peach jam? A: No, the jam thickens naturally by cooking the fruit down and evaporating water, which is why it takes a bit longer than pectin-based jams.
Q: Can I make this with frozen peaches? A: Definitely! Keep in mind frozen peaches will release more water, so your cooking time will be longer to get the jam to set.
Q: How do I know when the jam is done? A: When it coats your spoon and looks thicker, it’s getting close. Test it by putting a small spoonful on a cold plate—if it wrinkles and doesn’t run when pushed with your finger, it’s ready.
Q: Is peeling peaches necessary? A: Not at all! You can leave skins on—just wipe off the fuzz—or peel if you prefer a smoother jam. Skins add a bit of color and nutrition, too.
Q: Can I can this vanilla peach jam for pantry storage? A: To keep it shelf stable, you’d need to make larger batches and use a tested water-bath canning method. This recipe is tailored for fridge storage and small batches, so it skips that complexity.
Q: How long will an open jar last in the fridge? A: Keep it chilled and use within a few months for best flavor. Sealed jars last up to six months refrigerated.
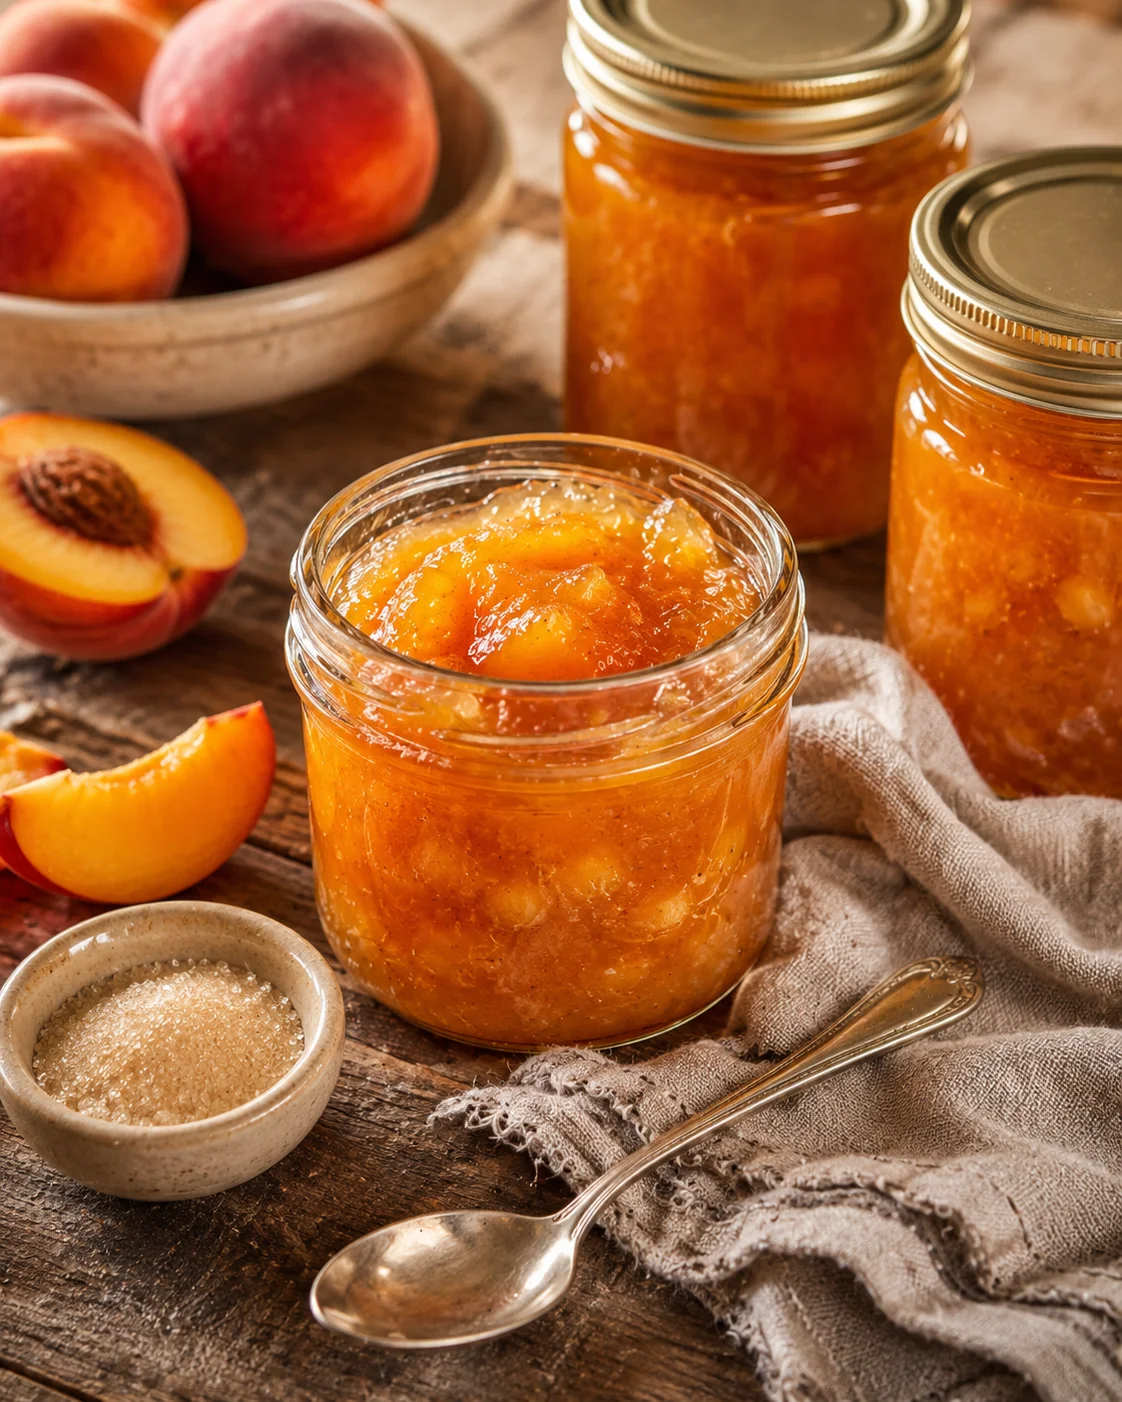
A simple recipe that transforms ripe peaches, sugar, and vanilla into about 2 cups of fresh, spreadable vanilla peach jam through slow simmering without added pectin.
- Prep Time: 20 minutes
- Cook Time: 2 hours
- Total Time: 2 hours 20 minutes
- Yield: About 2 cups (two 250 mL or half-pint jars) 1x
- Category: Preserves
Ingredients
- 3 pounds peaches (about 12 peaches), pits removed and flesh finely chopped
- 1 cup sugar
- 2 teaspoons vanilla extract
Instructions
- Pit the peaches and finely chop them (peeling by blanching and shocking is optional; you can also wipe fuzz and dice).
- Combine chopped peaches and sugar in a medium, deep saucepan.
- Place the saucepan over medium heat and stir until the mixture just starts to bubble.
- Reduce heat to low and simmer uncovered, stirring regularly to prevent sticking and burning.
- Stir at least every 20 minutes and increase frequency as the jam thickens.
- Skim off any foam that forms on the surface.
- Cook slowly until the jam is thick and glossy and coats a spoon (test doneness with a cold plate wrinkle test).
- Remove the pot from heat and stir in the vanilla extract.
- Sterilize jars and lids by washing in hot, soapy water and warming them in the oven or with hot water.
- Carefully ladle the hot jam into sterilized jars, leaving a little space at the top.
- Wipe the jar rims clean, place lids on, and tighten until you feel resistance.
- Set jars on a towel and leave undisturbed for at least 12 hours to allow seals to form.
Notes
Choose fully ripe peaches for sweetest flavor; unripe peaches require longer cooking and are more tart., Chop peaches finely for faster breakdown and shorter cooking time., Use a heavy-bottomed saucepan to prevent burning., Skim foam for a clearer jam., Sterilize jars thoroughly and use fresh sealing rings for safe storage., No pectin added; jam thickens naturally through slow cooking and evaporation., Frozen peaches can be used but cooking time will be longer., For chunkier jam, leave larger pieces; for smoother jam, mash or blend briefly before final cooking., This recipe skips full water-bath canning and is meant for refrigerated storage up to six months., Reheat gently on the stove or microwave before serving if needed.
Nutrition
- Serving Size: Approximately 1/4 cup per serving
- Calories: Approximately 120 calories per 1/4 cup serving
- Fat: 0 grams per serving
- Carbohydrates: About 30 grams per serving
- Protein: Less than 1 gram per serving
More in Breakfast
O.M.G. ~ Keto Magic Cookies
Keto Pumpkin Cream Cheese Muffins
Keto Bread Recipe