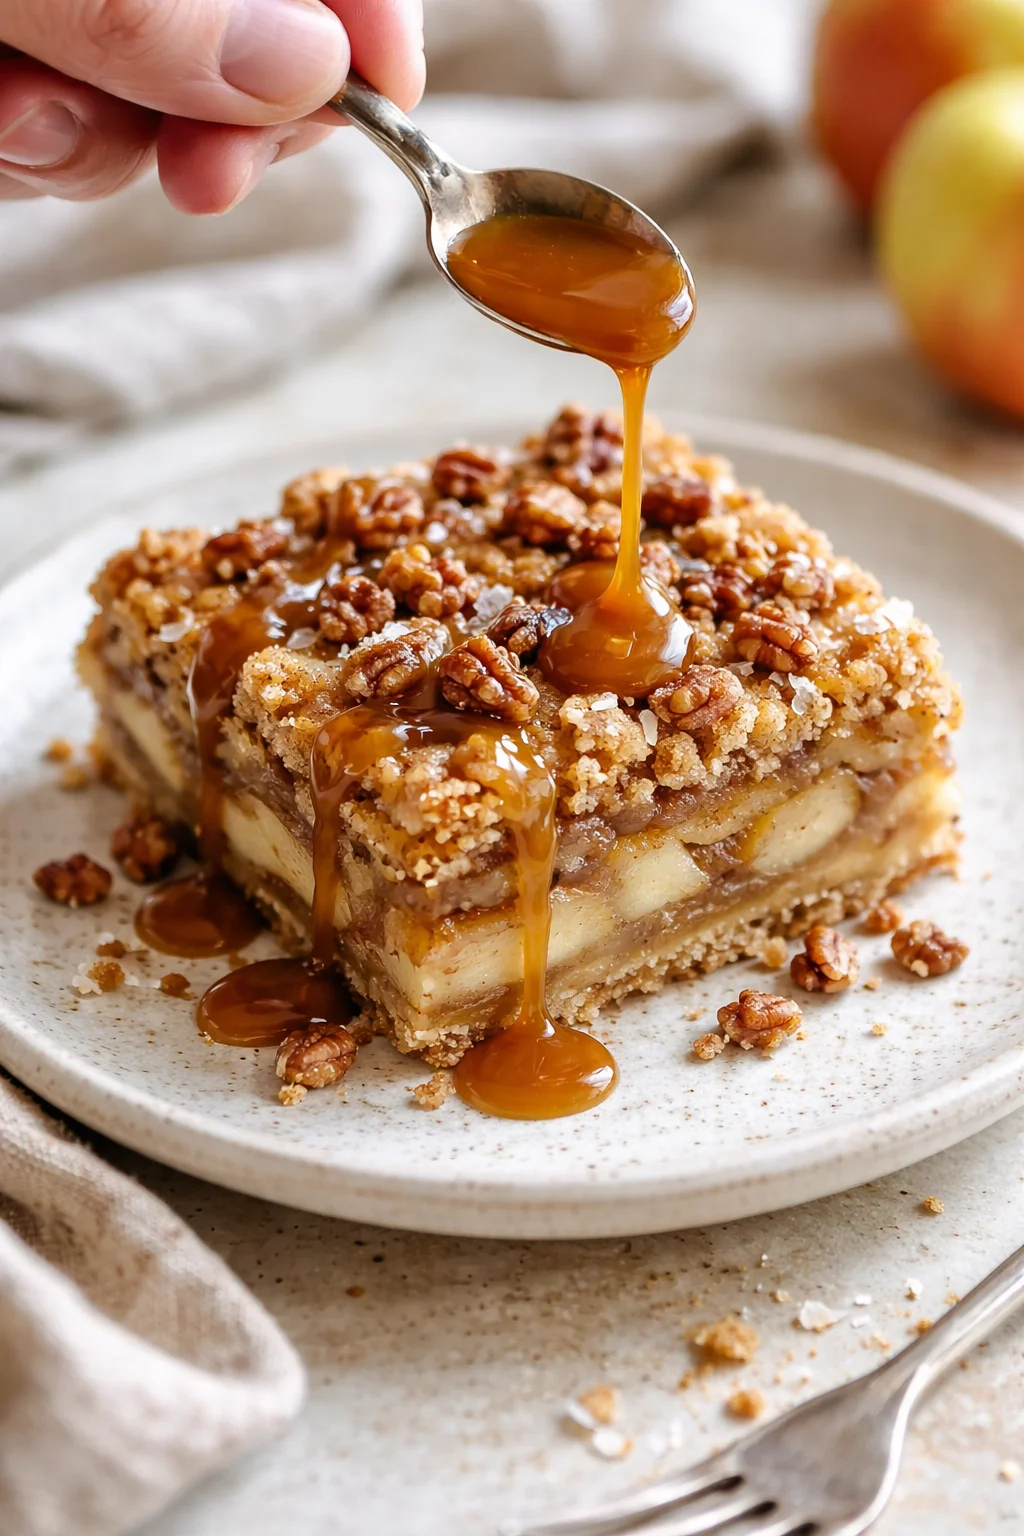
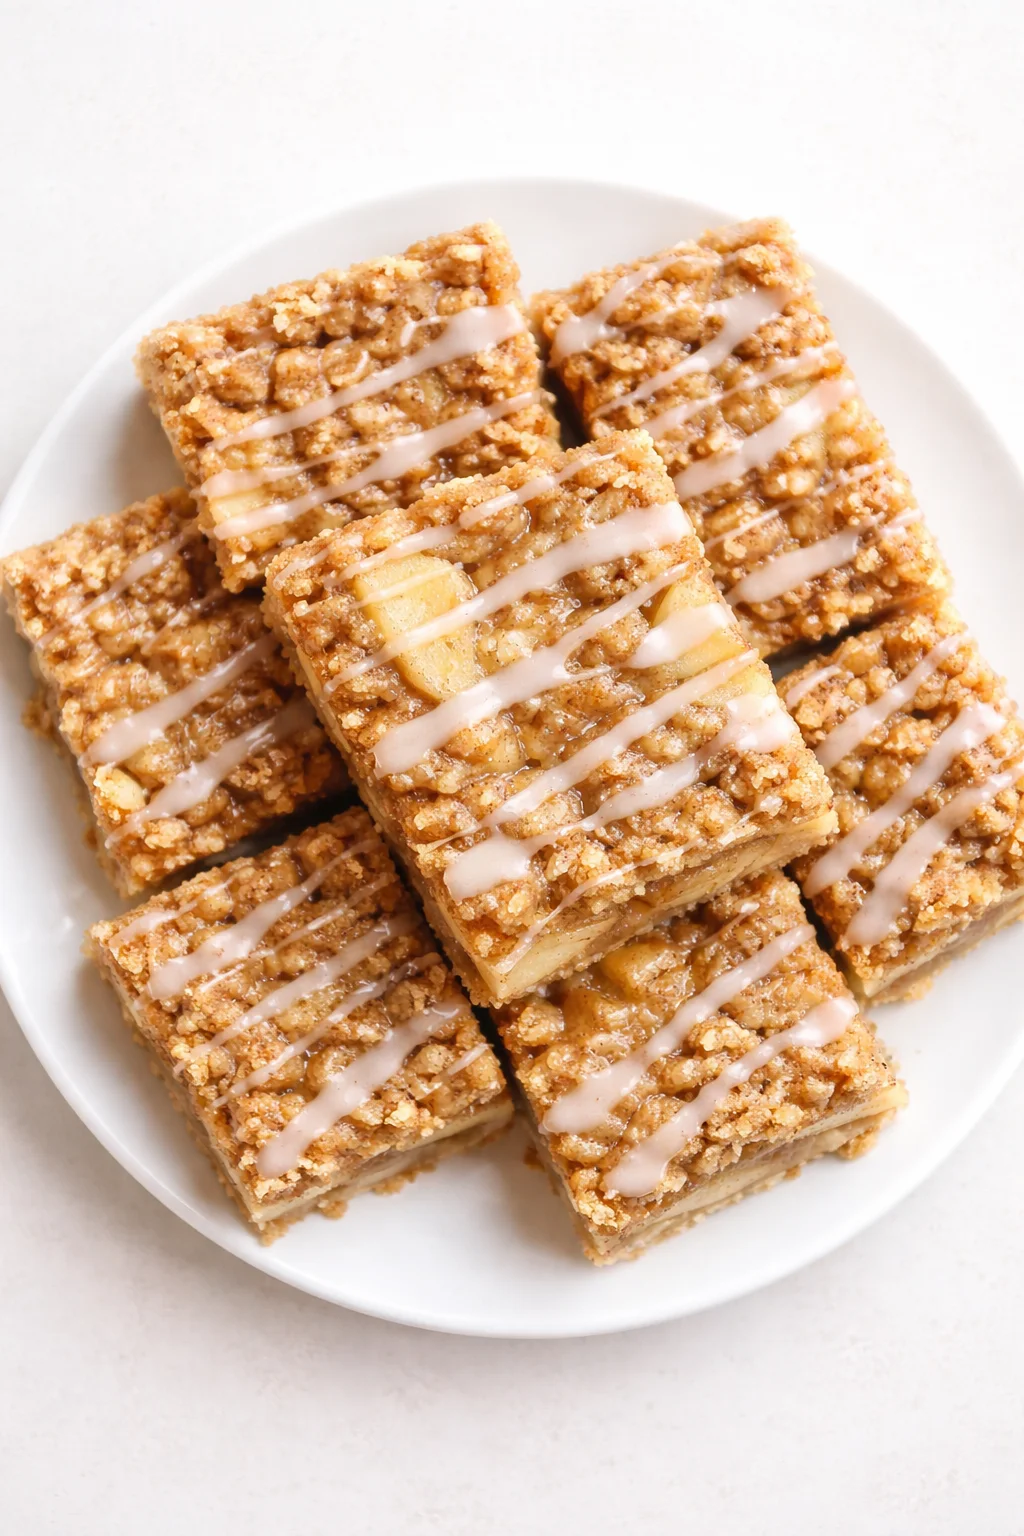
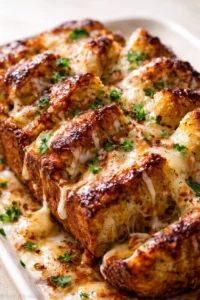
Apple Bars

Whenever the leaves start turning and the air gets that crisp, cozy vibe, I always find myself baking up these apple bars. It all began one cool autumn afternoon when I had just a few extra apples sitting on the counter and a craving for something sweet yet light. I didn’t want the hassle of a full pie, so I layered those apples into bars — and wow, they turned out exactly how I dreamed: buttery, crumbly, packed with warm spices, and topped off with a delicate drizzle of glaze.
These apple bars quickly became my favorite treat for family get-togethers, bake sales, or any time I want my kitchen to smell like cinnamon and comfort. They’re super easy to take along, come together quickly, and honestly taste even better the next day—if they last that long, that is. Let me walk you through exactly how to pull these off, step by step!
There’s just something magical about that first chill in the air and spotting the colorful fallen leaves that makes me want to bake something warm and inviting. These apple bars fit that craving perfectly: a buttery crust speckled with oats, soft apples filled with cozy spices, and a crunchy crumb topping finished with an optional sweet glaze. They have all the comforting vibes of autumn without the fussiness of making a pie from scratch.
In this post, I’ll share the whole process—from the simple list of mostly pantry staples to the easy step-by-step instructions. You’ll pre-bake the crust, toss your apples with cornstarch and spices, then bake everything together until it’s golden and bubbly. Plus, I’ll give you my pro tips for avoiding a soggy crust and slicing neatly, along with serving ideas, storage advice, and answers to your most common questions so you can bake with confidence.
Whether you’re making these for a crowd, a bake sale, or just to fill your home with those cinnamon-kissed scents, this recipe keeps things straightforward and flexible. Keep scrolling—you’ll find everything you need, plus little tricks that will up your baking game every time.
- What you’ll use: mostly pantry staples plus fresh apples
- Clear, step-by-step instruction with timing and assembly notes
- Expert tips, ideas for serving, storage and freezing directions
- Quick FAQ to cover all the basics you’re wondering about
What Makes These Bars Special
I’m really excited for you to try these apple bars because they hit that perfect balance of soft, crumbly, and sweet. Every bite carries that classic autumn feel that brings back warm memories—if you want another cozy apple dessert, my Classic Apple Crumble is a great next bake. Remember to save this recipe and please tell me how they turn out for you!
Happy cooking, friends!
Ingredients and Pantry Swaps
- All-purpose flour
- Old-fashioned oats
- Brown sugar
- Granulated sugar
- Ground cinnamon (for crust and topping)
- Salt
- Butter
- Fresh apples
- Cornstarch
- Lemon juice
- Vanilla extract
- Ground cinnamon (for apple filling)
- Nutmeg (optional)
- Powdered sugar
- Milk
How to Make the Bars
- Preheat oven to 350°F and line a 9×13-inch baking pan with parchment paper.
- Combine all-purpose flour, old-fashioned oats, brown sugar, granulated sugar, salt, and the first portion of cinnamon in a large bowl.
- Cut cold butter into the dry mixture with a pastry cutter or fork until coarse crumbs form; reserve about 1 1/2 cups of the mixture for the topping.
-
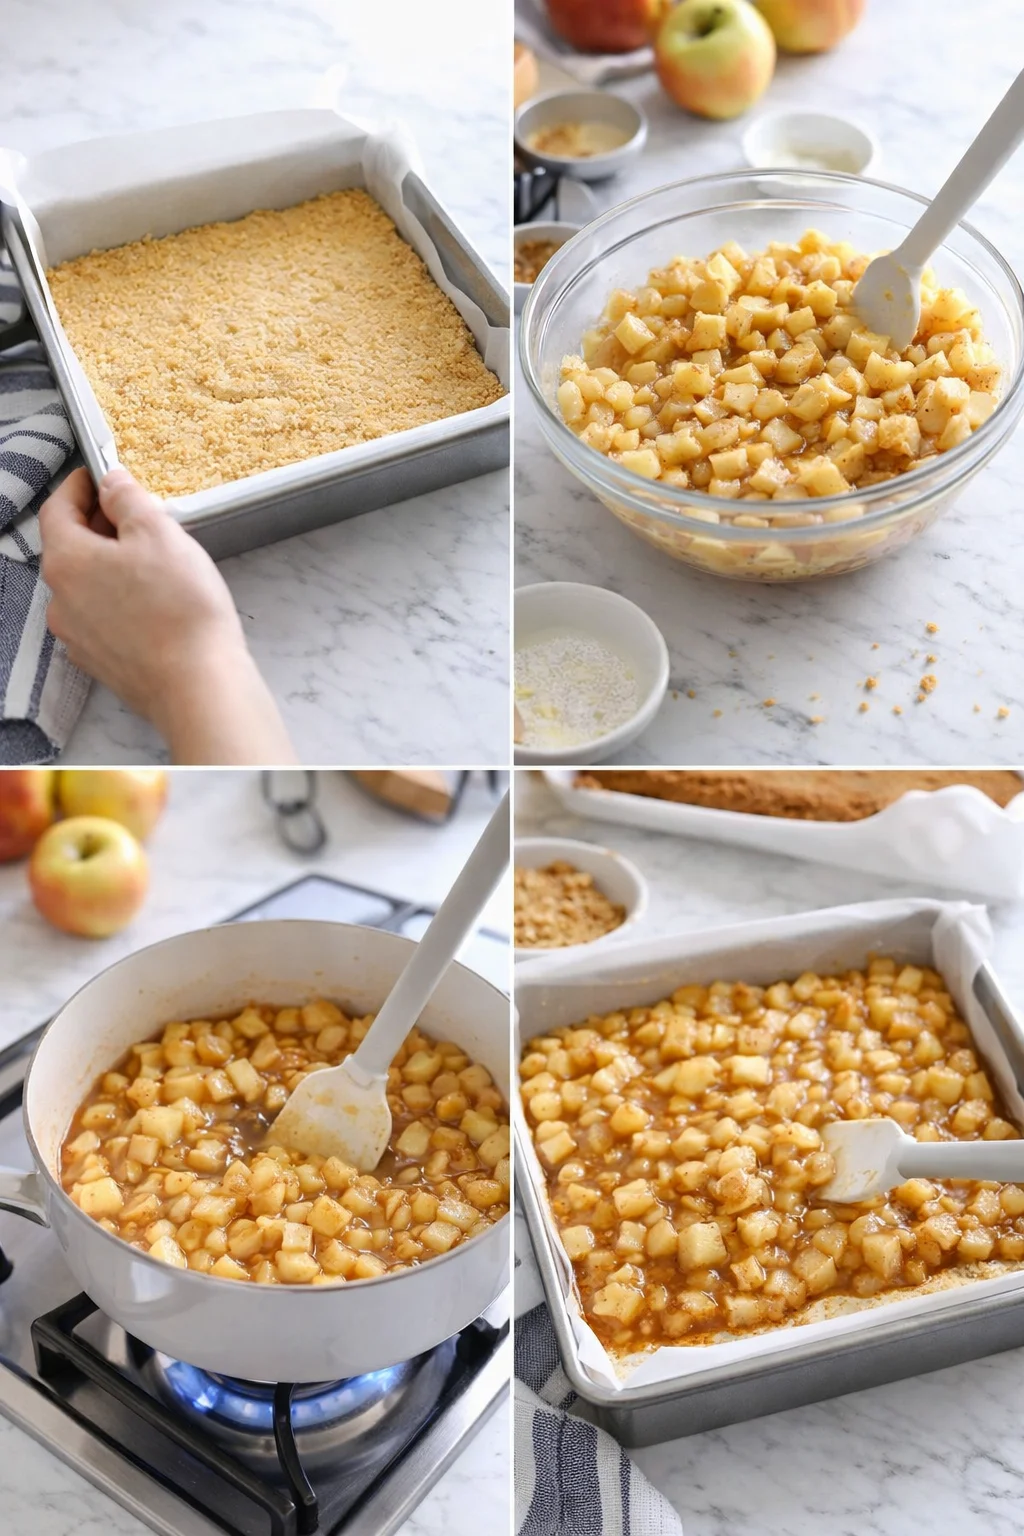
Press the remaining crumb mixture firmly and evenly into the bottom of the prepared pan.
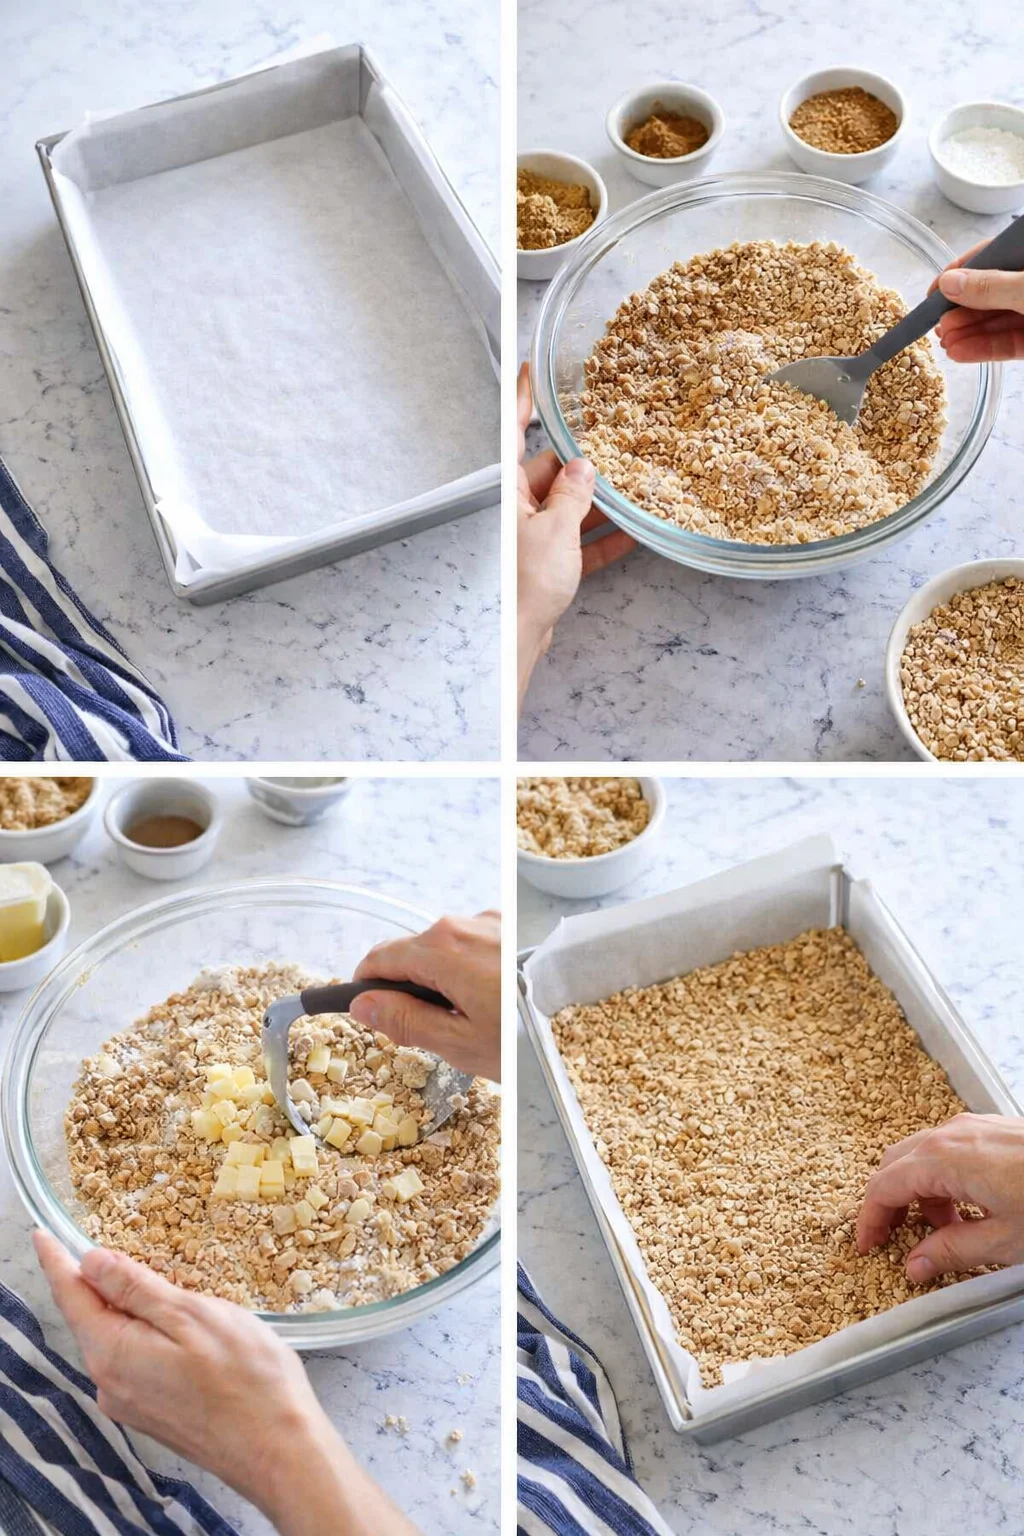
- Bake the crust for 10 to 12 minutes until set and lightly golden.
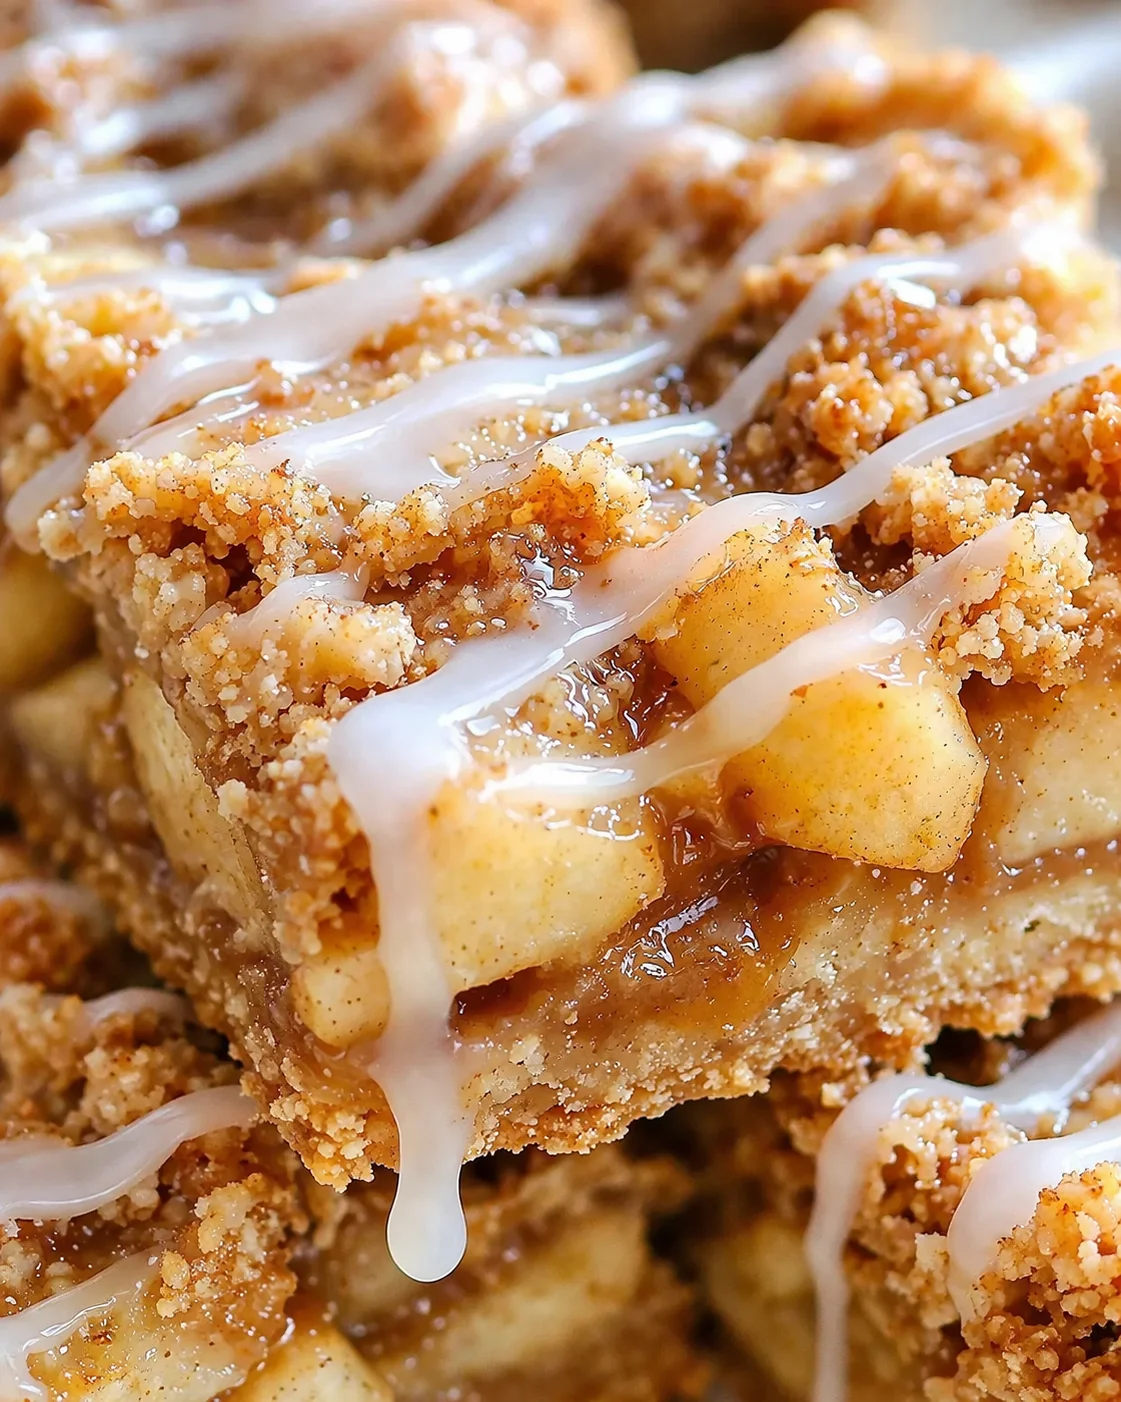
- While the crust bakes, toss chopped apples with cornstarch, lemon juice, vanilla extract, the second portion of cinnamon, and nutmeg if using; let sit a few minutes.
- If the apples are very juicy, simmer them briefly in a pan to reduce excess liquid (optional).
-
Spread the apple mixture evenly over the warm baked crust.
- Sprinkle the reserved crumb topping evenly over the apples.
- Bake until the top is golden and the apples are bubbling at the edges.
- Cool the bars completely in the pan, then lift them out using the parchment edges and slice.
-
Whisk powdered sugar with milk to desired drizzling consistency and drizzle over cooled bars (optional).

Baking Tips for Perfect Texture
Here are a few insider tips I always use to get these apple bars just right:
- Mix tart and sweet apples—like Granny Smith and Fuji—to keep the filling balanced. Too sweet can get cloying, and too tart can be sharp, but this combo is just right.
- Cut your apples into even bite-sized pieces, not too thin or thick, so they bake evenly. Very thin slices can turn mushy; big chunks might stay firm. For a visual cue on ideal dice, see the apple pieces in our Easy Sweet Apple Fritter Cake.
- Don’t skip the cornstarch—it’s the secret to a thick, sliceable filling, like the jammy fruit layer in our Strawberry Rhubarb Crisp. Toss those apples well so every piece gets coated.
- Press the crust firmly before baking and give it that initial bake to keep it from getting soggy when you add the juicy apple filling.
- Save some crumb mix for the topping and make sure to sprinkle it evenly for a beautiful golden crunch. If it feels too soft to sprinkle, pop it briefly in the fridge to firm up.
- Work pretty quickly when cutting the butter into the crust and topping ingredients. Keep the butter cold in small pieces — pea-sized lumps help make the topping nice and flaky.
- If your apples look really juicy, you can simmer them briefly in a pan to reduce excess liquid. This not only thickens your filling but boosts flavor too!
- Cooling the bars fully in the pan is key—warm bars may crumble when you cut. If you’re in a hurry, chilling in the fridge for a short time helps cut clean slices.
Ways to Customize and Serve
Here are several tasty ways I like to enjoy these apple bars:
Serve warm with a scoop of vanilla ice cream for a classic autumn dessert, and add a little crunch by sprinkling on quick air fryer apple chips.
Enjoy in the morning alongside a hot cup of coffee or tea for an easy breakfast treat.
Bring them to fall gatherings or potlucks where everyone just can’t get enough and sneaks “one more piece”; they’re perfect on a dessert table alongside Maple Donut Bars.
Wrap a batch as a thoughtful homemade gift during apple season or holiday time.
Eat them cold straight from the fridge — yes, they’re just as delicious chilled!
Storing, Freezing, and Reheating
Let’s talk about keeping these apple bars fresh and ready for later:
- At room temperature: Once cooled completely, store the bars in an airtight container for up to 2 days. Place parchment paper between layers so the crumb topping doesn’t stick.
- In the fridge: Keep the bars in an airtight container for up to 5 days. This is especially good if you added that lovely glaze or if your kitchen is warmer.
- Freezing: Wrap individual squares in plastic wrap, then pop them in a resealable freezer bag or container. Freeze for up to 2 months. Thaw overnight in the fridge.
- Reheating: For one piece, warm in the microwave for 12 to 20 seconds (watch closely!). For several pieces or the whole pan, heat in a 325°F oven for 8 to 12 minutes. Cover loosely with foil if you want to keep the topping from browning further.
- Make-ahead option: Assemble the bars in your pan and refrigerate overnight unbaked—an approach that also works beautifully for breakfast bakes like Blueberry Buttermilk Pancake Casserole. When ready, bake straight from the fridge, adding a few extra minutes if needed. If freezing an unbaked pan, wrap tightly and freeze up to 1 month; thaw in the fridge before baking and add a few minutes to bake time.
Helpful FAQs and Troubleshooting
Can I freeze these apple bars?
Absolutely! Cut into squares, wrap each piece in plastic wrap, and freeze for up to 2 months. When you’re ready, just thaw in the fridge or warm them gently in the microwave.
What kind of apples work best for apple bars?
I recommend a mix of tart and sweet like Granny Smith for its tang and Fuji for sweetness — it creates a perfect flavor balance. You can taste that same tart-sweet contrast in our Rhubarb Dream Bars.
Do I have to peel the apples?
Peeling is up to you! I usually peel to keep the texture smooth, but if you love some extra bite and rustic feel, leave the peel on. It all works! If you’d rather skip fruit prep altogether, try this Easy Peach Cobbler with Canned Peaches.
PrintButtery and crumbly apple bars with a spiced apple filling and optional sweet glaze, perfect for cozy autumn days.
- Prep Time: 20 minutes
- Cook Time: 45 minutes
- Total Time: 1 hour 5 minutes
- Yield: 12-16 servings 1x
- Category: Dessert
Ingredients
- 1 1/2 cups all-purpose flour (for crust and topping)
- 1 cup old-fashioned oats
- 1/2 cup brown sugar
- 1/2 cup granulated sugar
- 1/2 teaspoon salt
- 1 teaspoon ground cinnamon (divided: half for crust and topping, half for filling)
- 12 tablespoons cold unsalted butter, cut into small pieces
- 4 cups fresh apples, chopped (mix of tart and sweet recommended)
- 2 tablespoons cornstarch
- 1 tablespoon lemon juice
- 1 teaspoon vanilla extract
- 1/4 teaspoon ground nutmeg (optional)
- 1 cup powdered sugar (for glaze, optional)
- 2–3 tablespoons milk (for glaze, optional)
Instructions
- Preheat oven to 350°F (175°C) and line a 9×13 inch baking pan with parchment paper.
- In a large bowl, mix flour, oats, brown sugar, granulated sugar, salt, and half of the cinnamon.
- Cut in cold butter with a pastry cutter or fork until coarse crumbs form.
- Reserve about 1 1/2 cups of crumb mixture for topping.
- Press the remaining crumb mixture evenly and firmly into the bottom of the prepared pan.
- Bake crust for 10-12 minutes until set and lightly golden.
- While crust bakes, toss chopped apples with cornstarch, lemon juice, vanilla extract, nutmeg (if using), and remaining cinnamon.
- After crust is baked, spread apple mixture evenly over warm crust.
- Sprinkle reserved crumb topping evenly over apple layer.
- Return pan to oven and bake until topping is golden and apples are bubbly, about 35-40 minutes.
- Allow bars to cool completely in pan before lifting out using parchment edges.
- For glaze (optional), mix powdered sugar with milk until drizzling consistency is reached, then drizzle over cooled bars.
Notes
Mix tart and sweet apples (like Granny Smith and Fuji) for balanced flavor., Cut apples into bite-sized pieces for even baking; avoid very thin slices to prevent mushiness., Cornstarch is essential to thicken filling and prevent soggy crust., Press crust firmly before par-baking to maintain structure., Cool bars completely before cutting to avoid crumbling., Bars can be stored at room temperature (2 days), in refrigerator (up to 5 days), or frozen (up to 2 months)., Reheat single bars in microwave for 12-20 seconds or multiple bars in a 325°F oven for 8-12 minutes covered loosely with foil., Unbaked bars can be assembled and refrigerated overnight before baking; if frozen unbaked, thaw before baking and add extra baking time.
Nutrition
- Serving Size: 1 bar
- Calories: Approximately 250 kcal per serving
- Fat: 10 g per serving
- Carbohydrates: 36 g per serving
- Protein: 3 g per serving
More in Breakfast
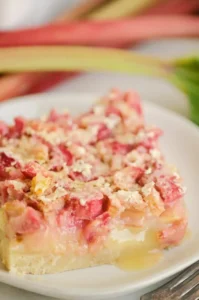
Rhubarb Dream Bars
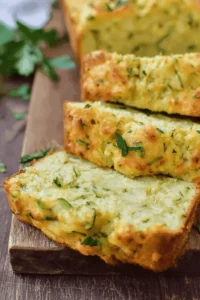
Green Onion Zucchini Cheddar Quick Bread
Sweet Cinnamon Sugar Bread