Italian Herbs and Cheese Bread: Savory Secrets Revealed

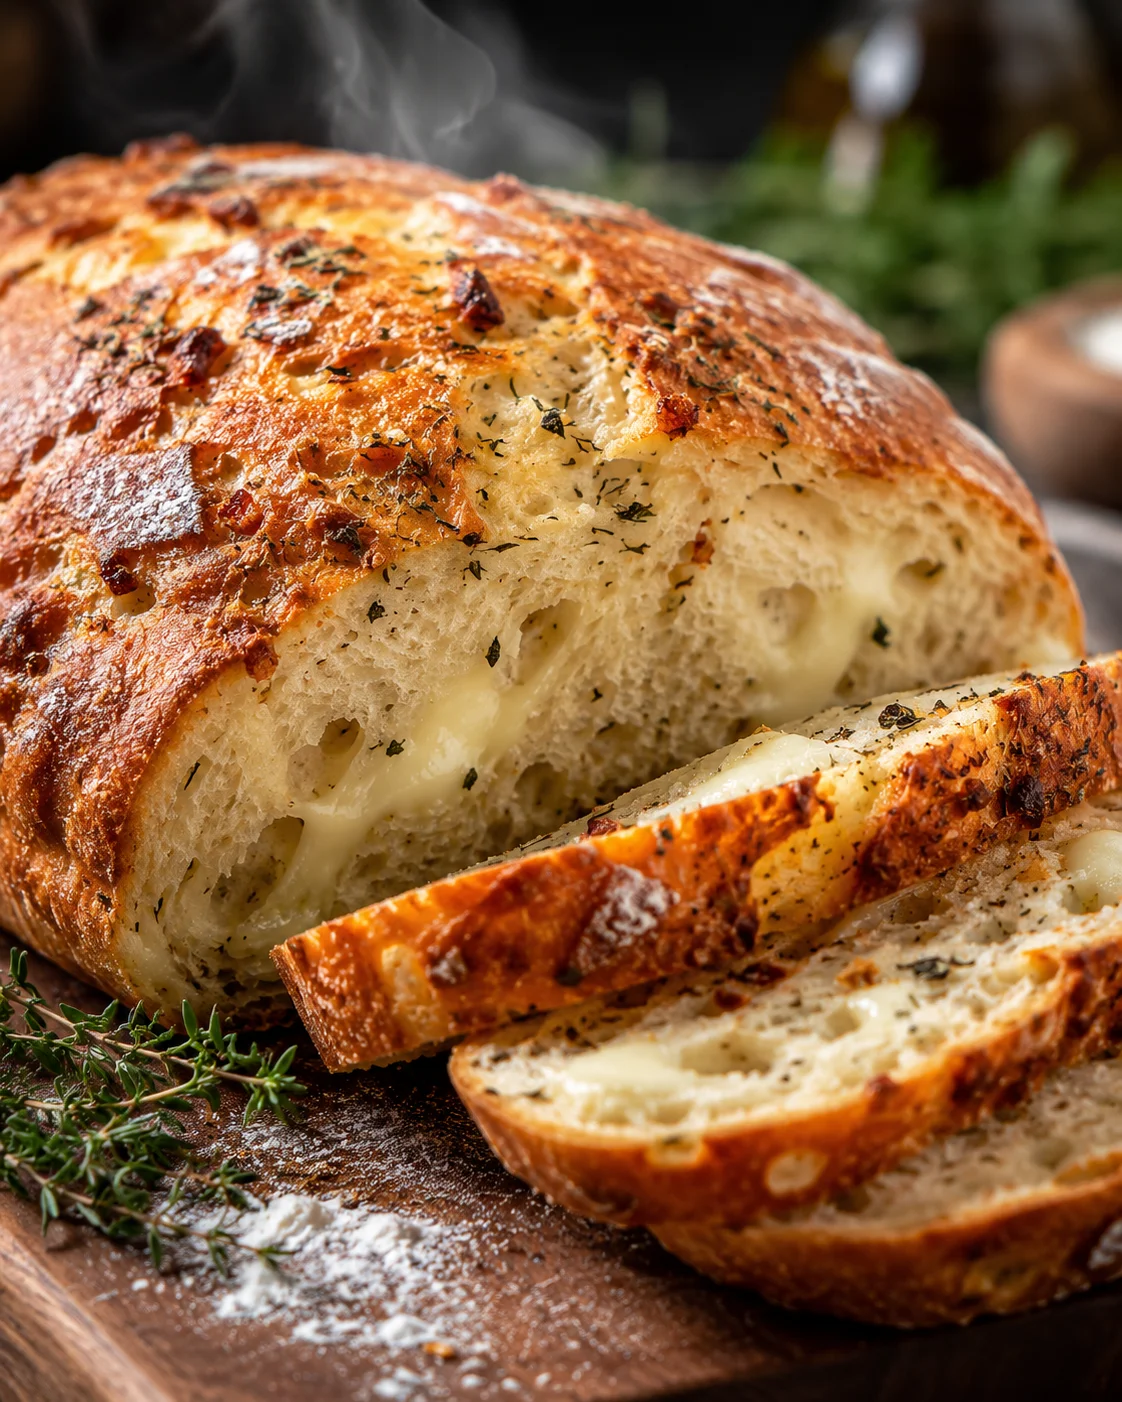
The warmest memory I have of authentic Italian bread takes me back to my nonna’s inviting kitchen in Naples. Every Sunday, the whole house would fill with the scent of freshly baked Italian herbs and cheese bread—the perfect mix of fragrant herbs and gooey melted cheese that made your mouth water before you even sat down. While nonna kneaded the dough, she’d share stories about how her mother, and her grandmother before her, perfected this simple, delicious family bread.
Growing up, I loved sneaking little pieces of dough when she wasn’t watching, amazed how basic ingredients like flour, water, and herbs could turn into such a magical treat. Now, I’m excited to share this treasured recipe and insider tips with you. Let’s take a trip to Italy through this easy-to-make bread that’s packed with flavor and nostalgia.
Welcome, friends! This recipe will guide you through making a fragrant, cozy loaf of Italian herbs and cheese bread that’s straight from my nonna’s kitchen in Naples. You’ll end up with a warm, herb-filled bread dotted with stretchy mozzarella and sharp Parmesan, seasoned with the classic Italian herbs like basil, oregano, rosemary, and thyme.
Here’s what you’ll get from this post:
- A detailed ingredients list with exact measurements for flour, yeast, water, salt, herbs, and the cheeses;
- A simple, step-by-step method covering mixing, kneading, first rise, shaping, second rise, and baking—a true from-scratch journey, including a pro tip to bake at 450°F with a pan of water to add steam;
- Expert tips to create the perfect crust and crumb, including advice on using a baking stone, how steam helps, and how to tell when your bread is done by sound or an internal temperature check;
- Creative ideas for add-ins and swaps to make this bread your own—think different cheeses, fresh versus dried herbs, olives, tomatoes, seeds, or playing with shapes;
- Helpful advice on storing, freezing, reheating, plus troubleshooting common quirks like over-proofing, baking temperature mistakes, and kneading issues.
Well, are you ready to bake? Scroll on for the recipe, or keep reading for tips that’ll help you bake your best loaf yet of this comforting, flavorful Italian herbs and cheese bread.
What Makes It Irresistible
There’s something truly special about the smell of freshly baked Italian herbs and cheese bread. This bread isn’t just tasty—it’s that perfect crowd-pleaser that pairs beautifully with so many meals. It’s a versatile star that enhances everything, from casual dinners to fancy spreads. Let me share some of my favorite ways to enjoy this delicious bread alongside your Italian favorites.
Served With Pasta Dishes
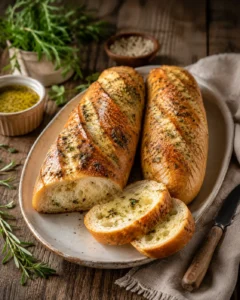
One of my top pairings is this bread with classic pasta dishes. Imagine a big bowl of spaghetti with marinara, and you tear off a piece of warm, herb-studded Italian herbs and cheese bread to soak up that sauce. It’s simple, comforting, and instantly elevates the meal. Dipping your bread into rich tomato sauce—yes, please! If that sounds like your happy place, you’ll also love our Garlic Herb French Bread for soaking up every drop.
Great for Sandwiches
This bread also shines as the base for hearty, flavorful sandwiches. Picture a grilled panini stacked with fresh mozzarella, ripe tomatoes, and basil served on slices of our homemade Italian herbs and cheese bread. The bread’s robust herb and cheese flavors add an irresistible layer to every bite, turning your lunch into a little slice of Italy. For another savory loaf that stands up to melty fillings, try Green Onion Zucchini Cheddar Quick Bread.
Delicious as a Snack
Sometimes, you don’t need a meal to enjoy this bread. A simple slice with a drizzle of olive oil or a sprinkle of sea salt hits the spot perfectly. Plus, this bread is a great blank canvas if you want to get creative: add hummus, avocado, or even a dab of Nutella for a sweet spin. Quick, easy, and so delicious!
Seeing how flexible this Italian herbs and cheese bread is really shows why it belongs in every kitchen. Whether as part of a meal or all on its own, it’s a true crowd-pleaser that brings a little Italian charm to any table.
Herbs, Cheeses, and Pantry Staples
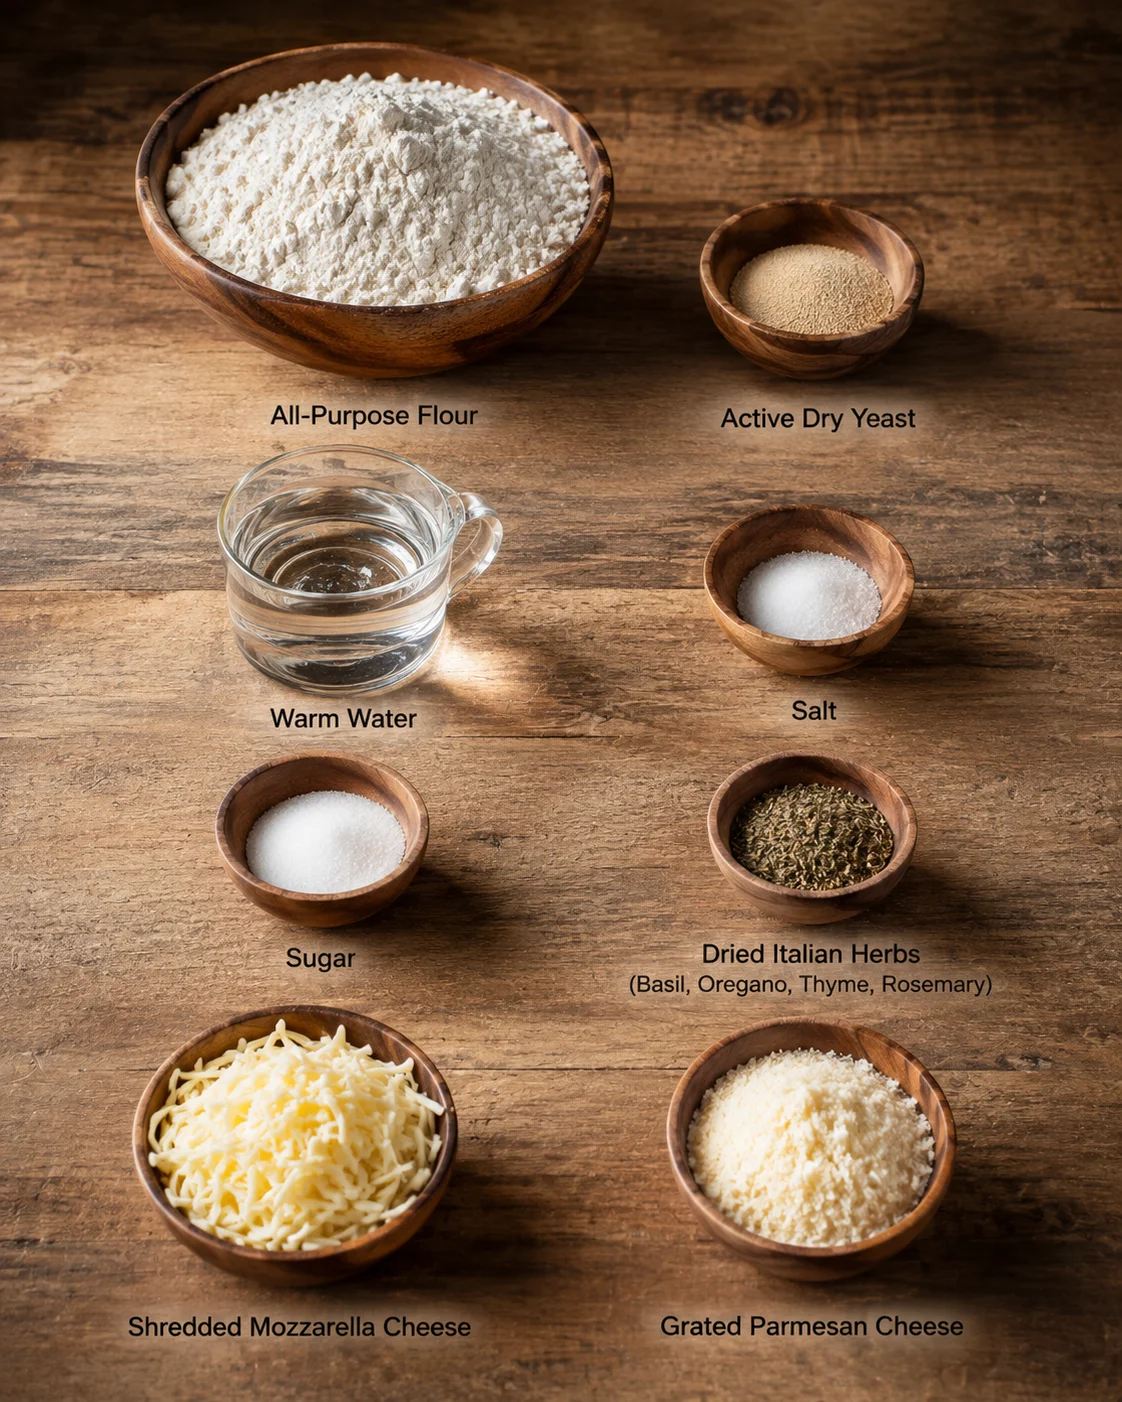
- 4 cups all-purpose flour
- 1 packet 2¼ teaspoons active dry yeast
- 1¾ cups warm water about 110°F
- 1 tablespoon salt
- 1 tablespoon sugar
- 2 tablespoons dried Italian herbs like basil, oregano, thyme, and rosemary
- 1 cup shredded mozzarella cheese
- ½ cup grated Parmesan cheese
- Extra flour for dusting
Mixing, Rising, and Baking
- Mix the dry ingredients (flour, salt, dried Italian herbs) together.
- Combine warm water, sugar, and active dry yeast; let sit about 5 minutes until frothy.
- Add the flour mixture, shredded mozzarella, and grated Parmesan to the yeast mixture and mix until a sticky dough forms.
- Turn the dough out onto a lightly floured surface.
-
Knead the dough by hand about 8–10 minutes until smooth and elastic, adding a little flour if it’s too sticky.
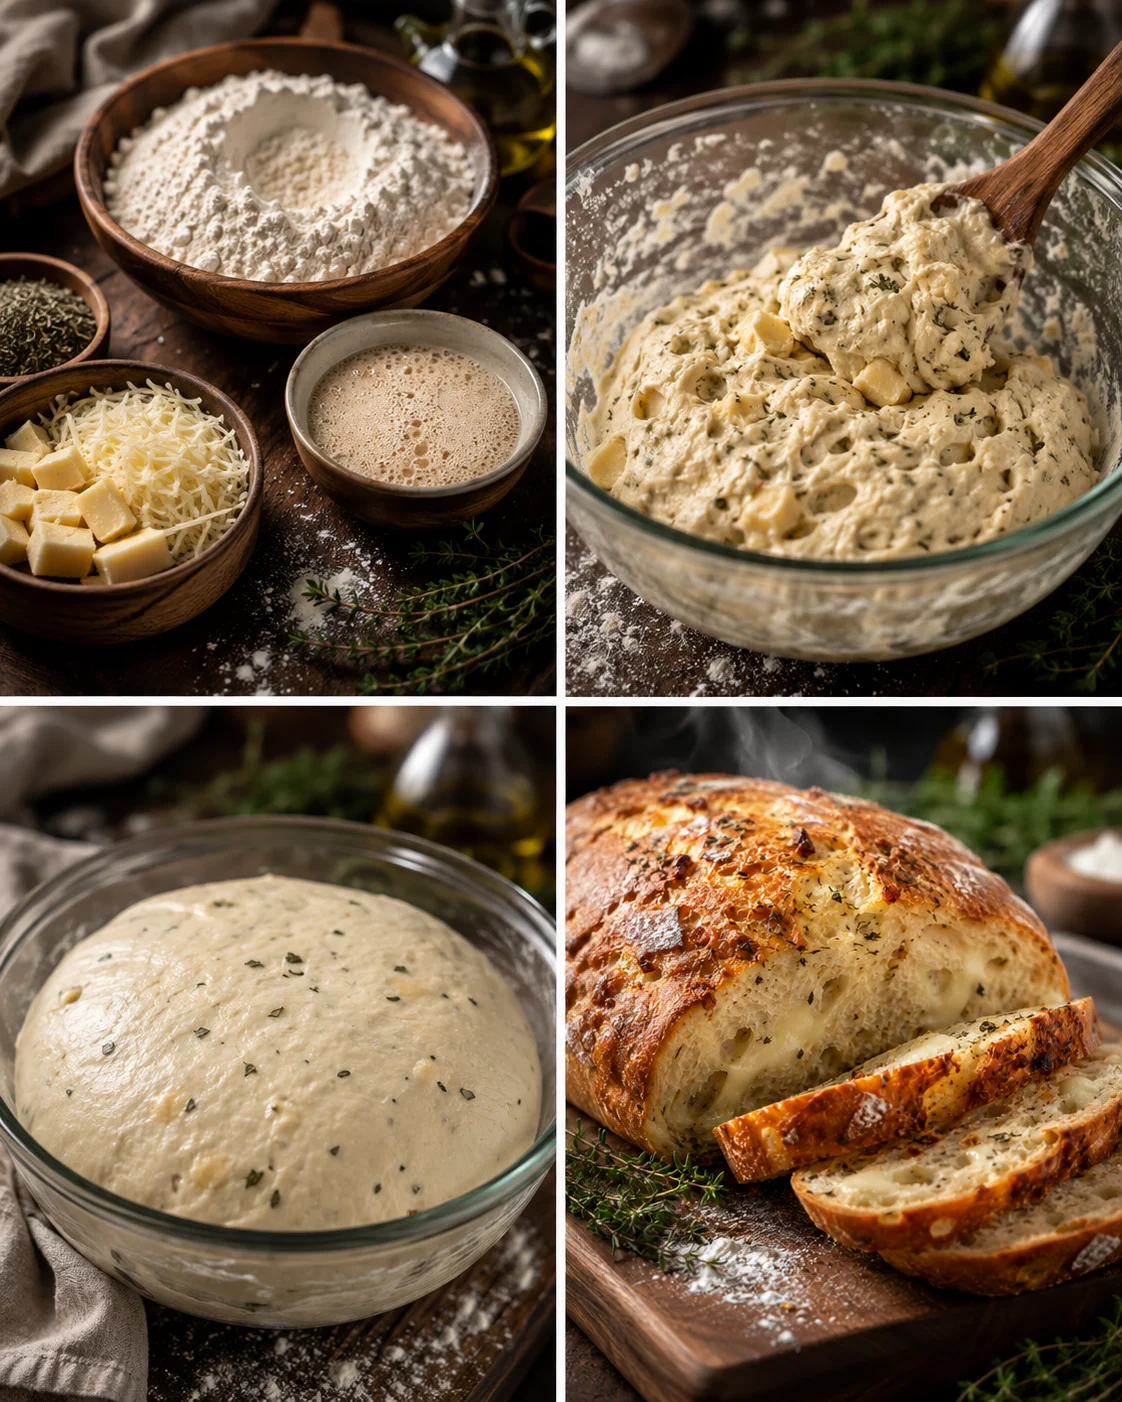
- Grease a bowl, place the kneaded dough inside, cover with a kitchen towel, and let rise in a warm, draft-free place until doubled in size (about 1–2 hours).
- Punch down the risen dough to release the air.
- Shape the dough into a loaf or place it in a greased bread pan.
- If desired, brush the loaf with olive oil and sprinkle seeds before the final rise.
- Cover the shaped loaf and let it rise for another 30 minutes.
- Preheat the oven to 450°F (230°C); if using, place a baking stone in the oven as it preheats and put a shallow pan of water on the oven bottom to create steam.
- Bake the bread 25–30 minutes until golden brown and hollow-sounding when tapped or until internal temperature reaches 200–210°F (93–99°C).
- Let the bread cool on a wire rack before slicing.
Crust, Flavor, and Finishing Touches
Want that perfect crispy crust? It all starts with the oven temperature. Preheat your oven to a toasty 450°F, which caramelizes the natural sugars in your dough to give you a golden, crunchy crust. That same high-heat approach also powers ultra-crispy edges on homemade pizza rolls.
If you don’t have one already, a baking stone is a wonderful investment. It holds and radiates heat evenly, so your bread bakes consistently from bottom to top. Be sure to place it in the oven as it preheats to get the most out of it.
Steam is a baker’s secret weapon. Placing a shallow pan of water on the oven bottom creates moisture, which helps form a crust that’s crisp on the outside but soft inside. It’s like a little steam bath for your bread!
Timing matters a lot, too. Bake your bread for about 25 to 30 minutes, and watch for that pretty golden-brown color. If you’re unsure about doneness, a quick tap on the bottom of the loaf should sound hollow. Or use a thermometer and aim for 200–210 °F inside.
These key points help you turn simple dough into a bakery-quality loaf with a crispy crust and tender crumb. Trust me, it makes all the difference and means every bite feels like a small celebration!
Even if you bake regularly, it’s easy to slip up when making Italian herbs and cheese bread. I’ve rounded up the top mistakes so you can dodge them gracefully.
Over/Under Proofing
Proofing can be tricky. Too long, and the dough over-expands, becoming weak and airy—your bread may collapse. Too short, and it’s dense and heavy. Keep an eye on the dough and get to know how it should look and feel before moving on.
Incorrect Oven Temperature
Baking at the wrong temperature can ruin your loaf. Too hot, and your crust will burn before the inside cooks; too low, and the bread turns out pale and gummy. Always preheat your oven for best results.
Inadequate Kneading
Skimping on kneading means less gluten development, and that leads to a loaf that’s heavy and uneven. Give the dough the time it needs to become smooth and elastic—this is key to light, fluffy bread.
Creative Mix-Ins and Substitutions
Want to mix it up? Here are some tasty ways to personalize your Italian herbs and cheese bread using the same basic process:
- Cheese swaps: Swap mozzarella for fontina or provolone to add a nuttier flavor. Try Asiago or Pecorino instead of Parmesan for a sharper bite. Just keep your total cheese amount close, around 1 to 1½ cups combined.
- Herb-focused: Add handfuls of fresh herbs like chopped basil or parsley after kneading for a bright, fresh herb flavor. When substituting fresh for dried, use 2–3 times as much fresh herbs to get the same intensity.
- Garlic & onion: Stir in 1–2 tablespoons of roasted or finely minced garlic, or add ½ cup sweet caramelized onions for a savory-sweet twist.
- Olives, tomatoes, or peppers: Fold in ½ cup chopped sun-dried tomatoes (well-drained), olives, or roasted red peppers for a Mediterranean vibe—see how those flavors shine in this Pressed Italian Picnic Sandwich Loaf for flavor combo inspiration.
- Seeds and toppings: Brush the loaf with olive oil and sprinkle with sesame, poppy, or fennel seeds before the last rise for extra crunch and flair.
- Shape changes: Make rolls, braids, or even focaccia-style flatbreads. Adjust proofing and baking times accordingly—smaller shapes need less time.
- Partial whole wheat: Substitute up to 1 cup of the all-purpose flour with whole wheat flour. Add 1–2 tablespoons more water because whole wheat absorbs more. The crumb will be heartier and denser.
- Gluten-free option: Use a trusted 1:1 gluten-free flour blend and add any necessary binders like xanthan gum. Proofing and texture will be different, so follow your blend’s directions carefully.
Storing, Freezing, and Reheating
Let’s talk about keeping your Italian herbs and cheese bread fresh, plus how to freeze and reheat like a pro.
- Room temperature (1–3 days): Once your bread is completely cool, store it in a paper bag or wrap it loosely in a clean kitchen towel to keep the crust crisp. If you prefer a softer crust, put it in an airtight plastic bag or container—this will soften the crust but keep the inside moist.
- Refrigeration (best avoided): Refrigerators tend to dry bread out quickly. If you must refrigerate, wrap the loaf tightly in plastic wrap or place it in an airtight container and use within 3–5 days.
- Freezing baked bread (up to 3 months): Cool completely, then wrap tightly in plastic wrap and aluminum foil (or use a heavy-duty freezer bag). When ready, thaw overnight in the fridge or at room temp. Refresh in a 350°F (175°C) oven for 10–15 minutes to revive the crust. Spritzing the bread lightly with water before reheating helps crisp the crust.
- Freezing unbaked or par-baked dough: Shape the loaf or rolls, freeze on a tray until firm, then move to a sealed bag. Thaw in the fridge or at room temperature, then allow a second rise before baking. Alternatively, refrigerate shaped dough overnight for slow fermentation, then bring to room temperature and proof before baking.
- Make-ahead dough: After the first rise, refrigerate the dough for 24–48 hours to develop flavor. When ready, let it warm and finish the second rise for 1–2 hours before baking at 450°F as usual.
- Reheating slices: For a single slice, heat in a toaster oven or oven at 350°F (175°C) for 3–6 minutes. For a whole loaf or multiple slices, heat 8–15 minutes. Avoid microwaving more than 10–20 seconds because it softens the crust and can make it chewy or soggy.
Pro tip: To breathe life back into frozen or day-old bread, add steam by placing a small oven-safe dish of water on the oven floor while reheating, or lightly mist the bread with water before heating. This brings back that fresh baked taste and texture without drying it out.
Common Questions Answered
What makes Italian herb and cheese bread unique?
Italian herb and cheese bread stands out because of its delicious combination of aromatic herbs and flavorful cheeses. Using authentic Italian herbs alongside quality cheese brings a gourmet touch to homemade bread, bursting with taste in every bite.
Which herbs are essential for authentic Italian bread?
The must-have herbs for authentic Italian bread are basil, oregano, rosemary, and thyme. These herbs work together to create the deep, aromatic flavors that define classic Italian cooking and make the bread so special.
Should I use fresh or dried herbs for my bread?
Both fresh and dried herbs have great merits. Fresh herbs add a bright, lively flavor and fresh aroma, while dried herbs are convenient with a more concentrated taste. I love mixing both depending on what I’ve got on hand and the flavor intensity I want.
How should I store Italian herbs?
Fresh herbs stay best when wrapped in a damp paper towel in the fridge or kept upright in a jar with water. Dried herbs should be kept in airtight containers, away from heat and sunlight, to preserve their full flavor and aroma over time.
What are the best cheeses to use for Italian herbs and cheese bread?
Mozzarella and Parmesan are the top choices. Mozzarella melts smoothly, adding creamy texture without overpowering the herbs, while Parmesan adds a rich, nutty finish that balances the loaf beautifully.
What is the proper way to proof bread dough?
Proper proofing means letting the dough rise in a warm, draft-free spot until it roughly doubles in size. This usually takes 1 to 2 hours, depending on your room temperature. Good proofing ensures your bread ends up light, airy, and fluffy.
How do I achieve a crispy crust on my bread?
To get a crispy crust, bake at a high temperature (around 450°F) and add steam by placing a pan of water in the oven during baking or spritzing water on the dough. This steam helps the crust turn golden and crisp while keeping the inside tender.
What are some common mistakes to avoid when baking Italian herb and cheese bread?
Avoid over-proofing or under-proofing your dough, baking at incorrect oven temperatures, and skimping on kneading. These missteps can lead to heavy, flat, or uneven bread. Sticking to the method and tips shared here will help you nail perfect results every time.
How can I pair Italian herbs and cheese bread with meals?
Italian herbs and cheese bread is incredibly flexible. It pairs perfectly with pasta dishes and cozy soups like Tomato Zucchini Soup, makes an amazing base for sandwiches, or can simply be enjoyed on its own as a flavorful snack. Its bold yet balanced flavors complement many Italian and comfort food meals.
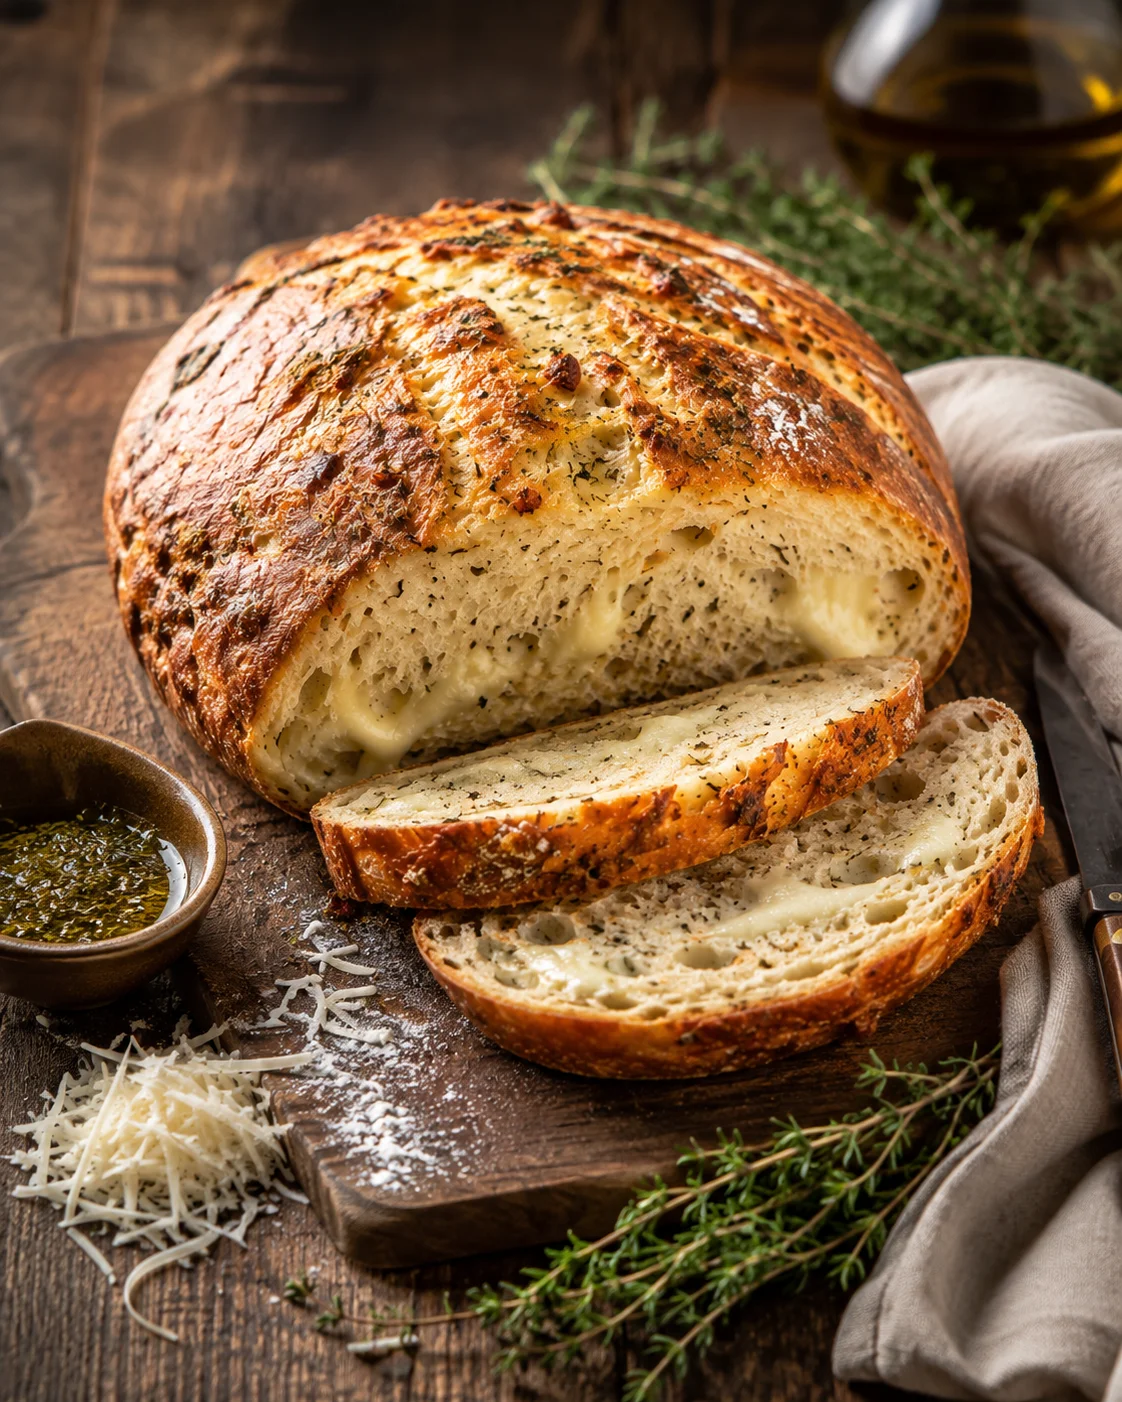
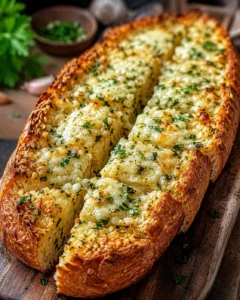
A fragrant, cozy loaf of Italian herbs and cheese bread with mixed dried herbs and melted mozzarella and Parmesan, offering a crispy crust and tender crumb with a traditional Italian flavor profile.
- Prep Time: 15 minutes
- Cook Time: 25-30 minutes
- Total Time: 2 hours 40 minutes
- Yield: 1 loaf (8-10 servings) 1x
- Category: Bread
- Cuisine: Italian
Ingredients
- 4 cups all-purpose flour
- 1 packet (2¼ teaspoons) active dry yeast
- 1¾ cups warm water (about 110°F)
- 1 tablespoon salt
- 1 tablespoon sugar
- 2 tablespoons dried Italian herbs (basil, oregano, thyme, rosemary)
- 1 cup shredded mozzarella cheese
- ½ cup grated Parmesan cheese
- Extra flour for dusting
Instructions
- Mix the dry ingredients (flour, salt, dried Italian herbs) together.
- Combine warm water, sugar, and active dry yeast; let sit about 5 minutes until frothy.
- Add the flour mixture, shredded mozzarella, and grated Parmesan to the yeast mixture and mix until a sticky dough forms.
- Turn the dough out onto a lightly floured surface.
- Knead the dough by hand about 8–10 minutes until smooth and elastic, adding a little flour if it’s too sticky.
- Grease a bowl, place the kneaded dough inside, cover with a kitchen towel, and let rise in a warm, draft-free place until doubled in size (about 1–2 hours).
- Punch down the risen dough to release the air.
- Shape the dough into a loaf or place it in a greased bread pan.
- (Optional) Brush the loaf with olive oil and sprinkle seeds before the final rise.
- Cover the shaped loaf and let it rise for another 30 minutes.
- Preheat the oven to 450°F (230°C); if using, place a baking stone in the oven as it preheats and put a shallow pan of water on the oven bottom to create steam.
- Bake the bread 25–30 minutes until golden brown and hollow-sounding when tapped or until internal temperature reaches 200–210°F (93–99°C).
- Let the bread cool on a wire rack before slicing.
Notes
To achieve a perfect crispy crust, preheat oven to 450°F and use a pan of water to create steam during baking., Using a baking stone helps bake bread evenly., If the dough is too sticky during kneading, add flour sparingly to reach smooth, elastic texture., Avoid common mistakes like over-proofing (leading to collapse), under-proofing (dense bread), incorrect oven temperature, and inadequate kneading for best results., Creative add-ins include swapping cheeses (fontina, provolone, Asiago, Pecorino), fresh herbs (adjust quantity to 2-3 times dried), garlic or caramelized onions, sun-dried tomatoes, olives, roasted peppers, and seeds., Partial whole wheat flour substitution up to 1 cup requires extra water (1-2 tablespoons)., Gluten-free option requires 1:1 blend and binders, but varies per blend., Store cooled bread in paper bag or towel for crisp crust, plastic bag for softer crust; avoid refrigeration if possible., Bread and dough can be frozen; thaw and refresh with heat and steam for best texture., Reheat slices in toaster oven or conventional oven; avoid microwaving to preserve crust.
Nutrition
- Serving Size: 1 slice
- Calories: Approx. 180 calories per serving (1 slice)
- Fat: 4.5g per serving
- Carbohydrates: 30g per serving
- Protein: 6g per serving