Delicious Swirled Garlic Herb and Cheese Bread Recipe

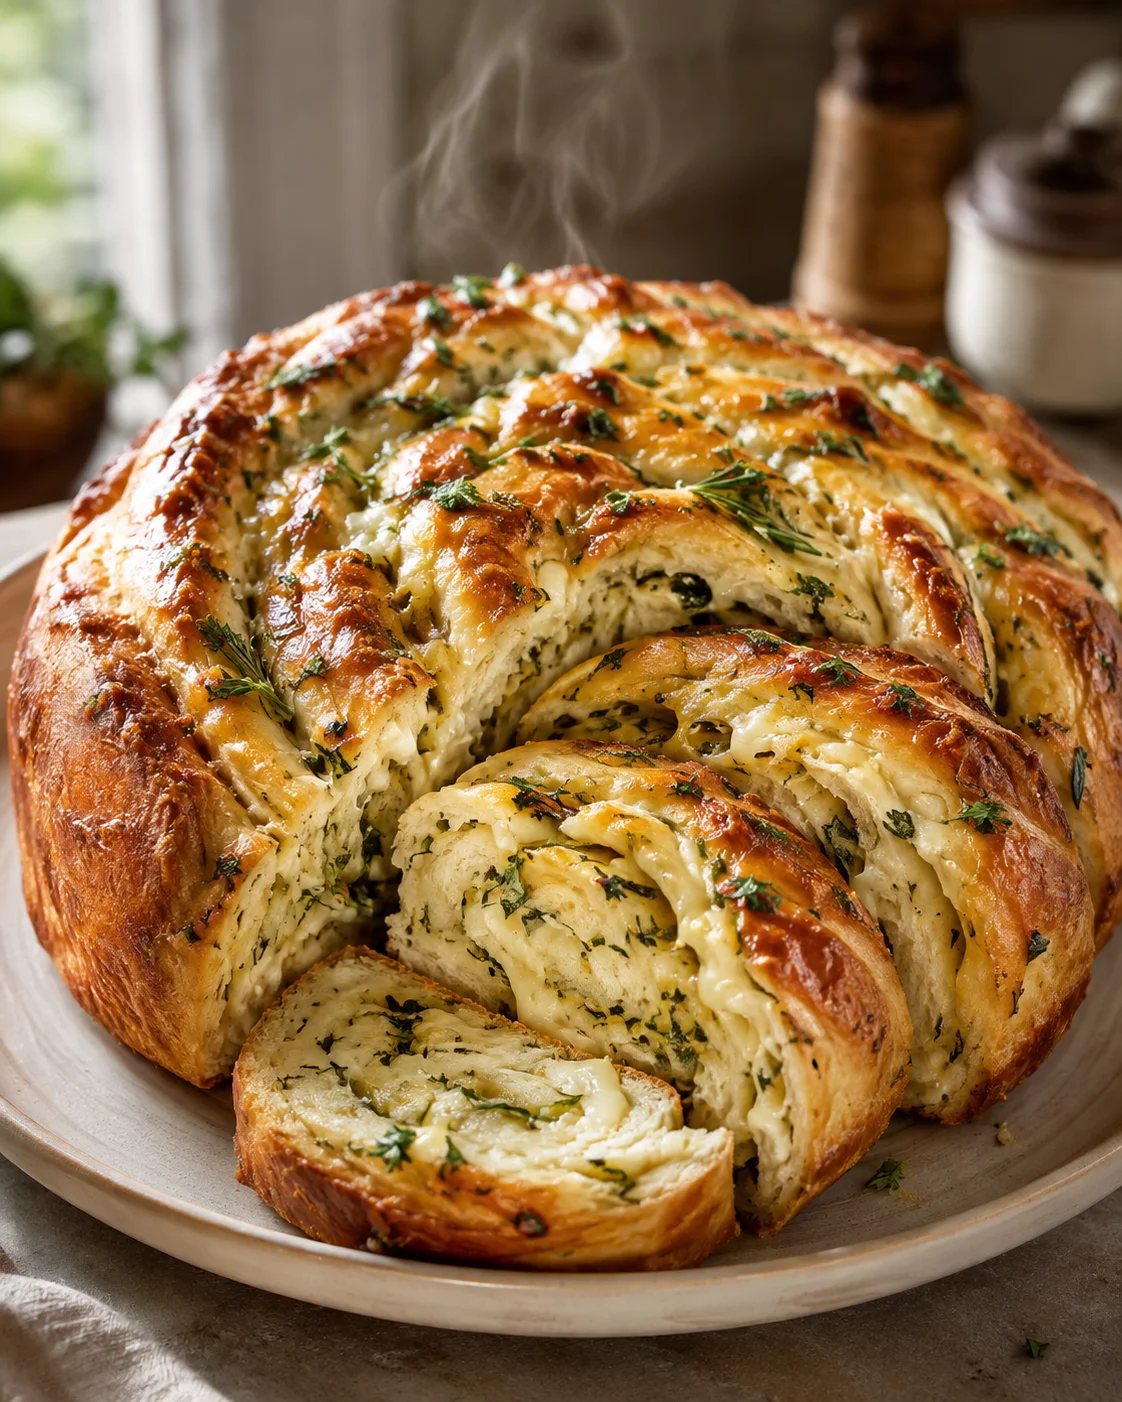
Swirled Garlic Herb And Cheese Bread is more than just a recipe—it’s a cozy invitation to enjoy homemade comfort at its best. Picture a loaf bursting with the rich scent of garlic, fresh herbs, and creamy, melted cheese all rolled into one. This beloved bread has a wonderful history in family kitchens everywhere. Whether you’re hosting friends or sitting down for a casual family meal, Swirled Garlic Herb And Cheese Bread fills your home with irresistible aromas and promises smiles around the table. What makes it even better is how versatile it is—you can serve it alongside soups, toast it for sandwiches, or simply enjoy it warm, slathered with butter straight from the oven.
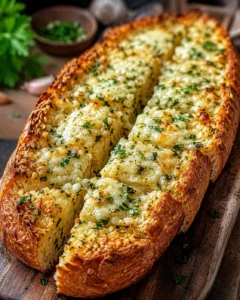
This garlic herb cheese bread dazzles with its soft, fluffy texture and a beautiful swirl that reveals the savory filling inside. Each slice presents an inviting pattern of garlicky herbs and gooey cheese that’s as pleasing to the eyes as it is to your taste buds. Unlike your typical garlic bread, this recipe uses a tender dough rolled up with the filling inside, giving it a special twist with every bite. It strikes the perfect balance between artisan bread and classic comfort food, making it a star at any meal.
Take a bite, and you’ll discover bubbly cheese melting into garlic’s bold punch and fresh herbs’ lively zing. The flavors come together in a comforting, delicious blend that’s simply irresistible. The crust turns golden and slightly crisp while the inside stays soft and tender, practically melting in your mouth. The swirls inside are full of flavorful surprises—each slice is a new little adventure that will have you reaching for more.
Welcome, friend! This recipe will walk you through making a fragrant, golden loaf filled with streaks of garlic, fresh herbs, and gooey cheese. Expect a gorgeous swirl inside and a crust that’s just crisp enough, giving way to a fluffy, soft crumb. This bread looks impressive on the table but is surprisingly simple to make, perfect for pairing with soups, salads, or using for sandwiches. And of course, it’s delicious on its own, warmed up with some butter melting on top.
Whether you’re a newbie baker or someone who loves trying new twists in the kitchen, this guide keeps things easy and fun. You’ll get a clear ingredients list, step-by-step instructions for mixing, rising, rolling, and shaping, plus handy tips to help you bake up a beautiful, airy loaf with that perfect garlic herb cheese filling evenly spread inside.
As you scroll down, you’ll also find helpful ideas for swapping ingredients, storing leftovers, reheating tips, and answers to common questions so you can adapt this bread to your taste and busy schedule.
- A clear checklist of ingredients and tools so you’re ready to bake.
- Simple, detailed steps for mixing, rising, filling, shaping, and baking your bread.
- Helpful baking tips, tasty serving ideas, and easy ingredient swaps.
- Advice on storing, freezing, reheating, plus a short FAQ to tackle common challenges.
What Makes It So Good
- Easy to make, even if you’re just starting with bread baking.
- A perfect partner for your favorite soups or a bright Lemon-Dijon asparagus and pea macaroni salad.
- Kids and grown-ups can’t get enough of its cheesy, garlicky magic.
- Freezes well, so you always have a quick, tasty side ready to go.
This recipe features wholesome ingredients that not only taste great but pack some nutritional punch too. Fresh garlic is known to boost your immune system, while herbs like parsley and rosemary bring antioxidants and bright, fresh flavors—a profile you’ll also find in our Italian Herbs and Cheese Bread: Savory Secrets Revealed. The cheese adds creaminess and protein, making every bite satisfy you in more ways than one. You can even swap in whole grains for added fiber, turning this garlic herb cheese bread into a balanced treat you’ll feel happy serving to family and friends.
Ingredients and Measurements
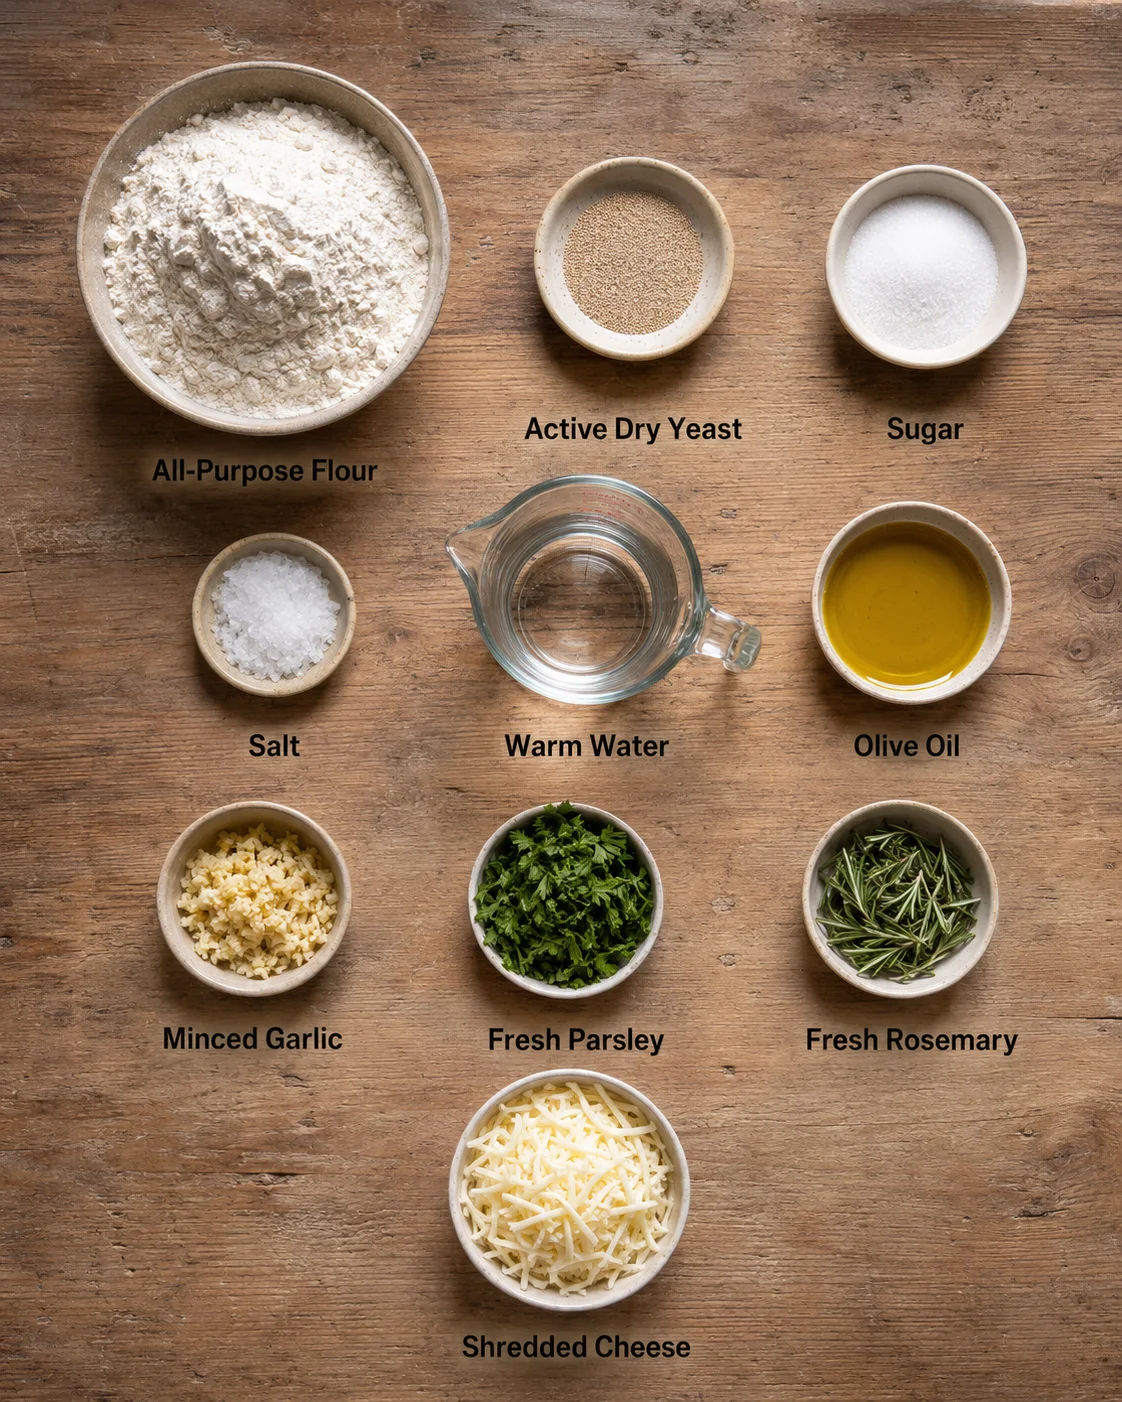
- 3 cups all-purpose flour
- 1 packet (2¼ teaspoons) active dry yeast
- 1 tablespoon sugar
- 1 teaspoon salt
- 1 cup warm water (about 110°F)
- ¼ cup olive oil
- 4 cloves garlic, minced
- 2 tablespoons fresh parsley, chopped
- 1 tablespoon fresh rosemary, chopped
- 1 cup shredded cheese (mozzarella or cheddar)
Prepare, Shape, and Bake
- Mix 1 cup warm water (about 110°F), 1 tablespoon sugar, and 2¼ teaspoons active dry yeast in a large bowl and let sit 5–10 minutes until foamy.
- Add ¼ cup olive oil, 1 teaspoon salt, and 3 cups all-purpose flour gradually, stirring until a soft, slightly sticky dough forms.
- Turn dough onto a lightly floured surface and knead 8–10 minutes until smooth and elastic.
- Place dough in a bowl lightly brushed with oil, cover with a towel or cling wrap, and let rise in a warm place until doubled in size (about 1 hour).
- Meanwhile, combine 4 cloves minced garlic, 2 tablespoons chopped parsley, 1 tablespoon chopped rosemary, and 1 cup shredded cheese in a bowl to make the filling.
- Punch down the risen dough and roll it out on a lightly floured surface into a rectangle about 1/4 inch thick.
- Spread the garlic, herb, and cheese mixture evenly over the rolled dough and press gently to adhere.
-
Starting on the long side, roll the dough tightly into a log, pinch the edges to seal, and place seam-side down in a greased loaf pan or twist into a coil and set on a baking sheet.
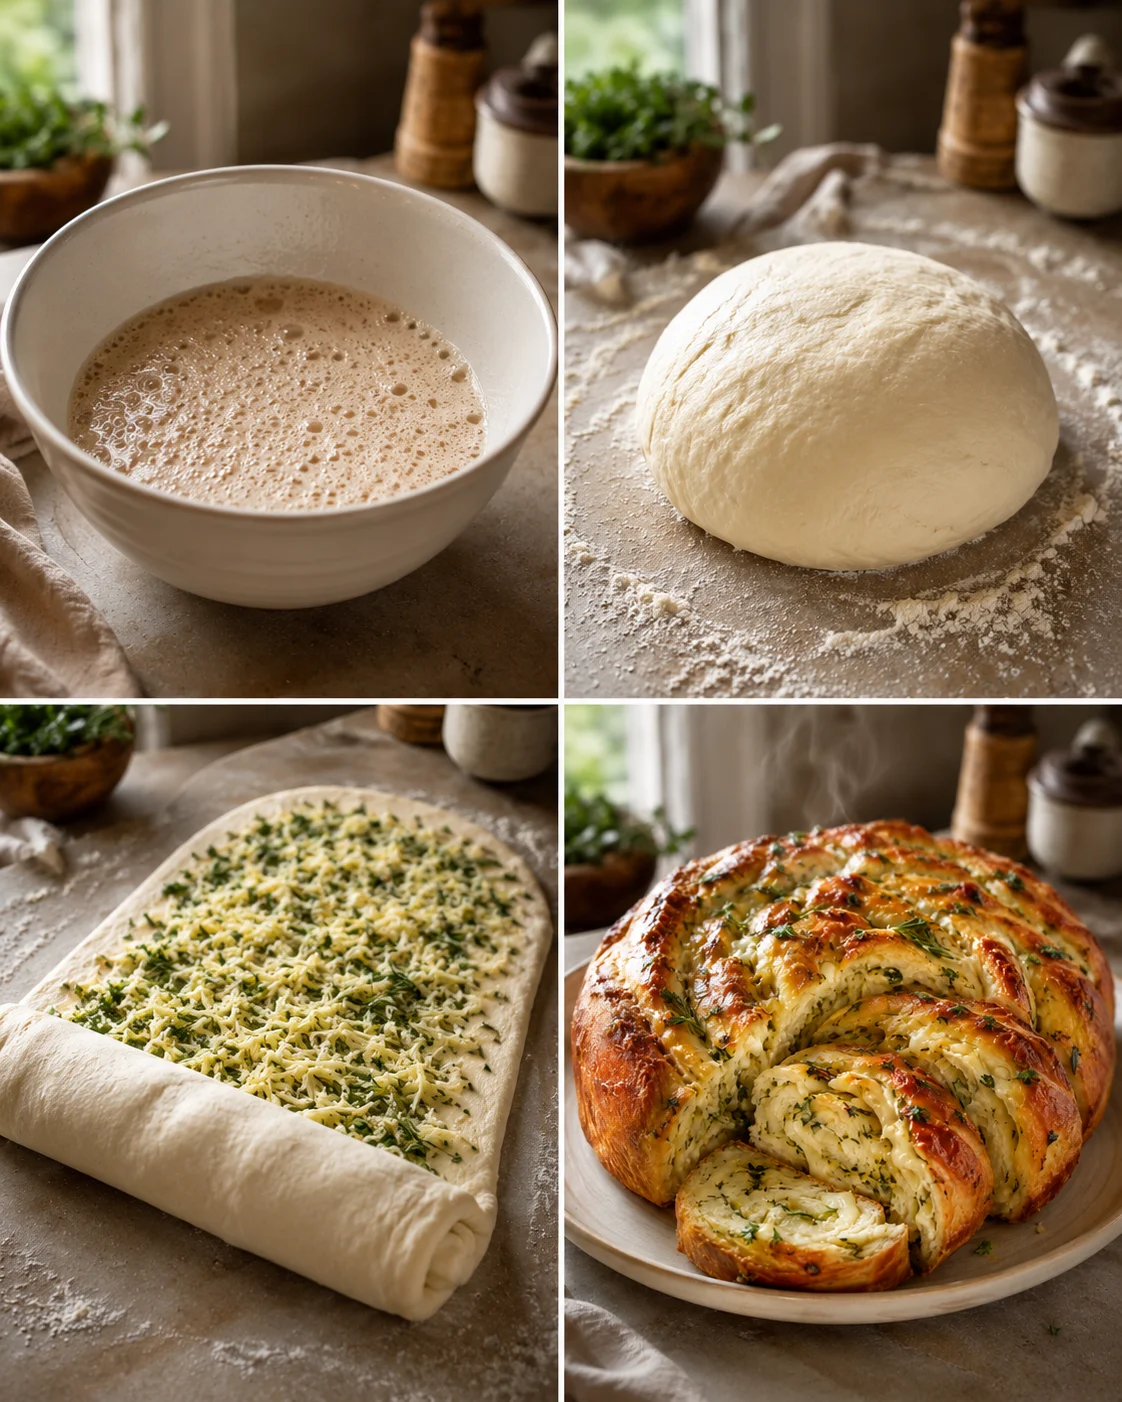
- Cover the shaped loaf and let rise 30–45 minutes until puffed.
- Preheat oven to 375°F (190°C); bake 25–30 minutes until golden brown and hollow-sounding when tapped, then cool briefly in the pan, transfer to a wire rack, and cool about 10 minutes before slicing.
Expert Tips for Best Results
This garlic herb cheese bread shines on its own but also pairs beautifully with all sorts of dishes. Try it alongside a crisp garden salad or a warm bowl of soup, or cut it up for a gorgeous addition to a charcuterie board. For a side with tangy contrast, Creamy Pickle Pasta Salad pairs especially well. For a drink, a chilled white wine or sparkling water with lemon makes a refreshing match for the rich flavors.
- Make sure your water is about 110°F to wake up the yeast without harming it.
- Don’t skip the second rise—that extra puff makes the bread light and airy.
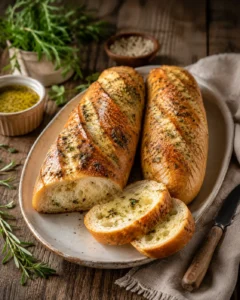
- Try mixing up the cheeses or herbs next time to find your favorite combo. For a crustier, baguette-style take, see our Garlic Herb French Bread.
- Use a serrated knife when slicing to keep the bread’s soft crumb from getting squished.
- Too-hot water can kill your yeast; too-cold won’t activate it well.
- Skipping kneading results in dense bread; keep kneading until smooth.
- Don’t overload the filling or the bread might burst while baking.
- Give the dough enough time to rise for the best texture.
Flavor Variations and Swaps
- Dairy-free cheese options melt nicely, perfect if you avoid dairy.
- Swap herbs like thyme or basil for exciting new flavors, or lean savory with green onion and cheddar as in this Green Onion Zucchini Cheddar Quick Bread.
- Add red pepper flakes if you want a little spicy kick or try roasted garlic for sweetness—see the method in Garlic Herb French Bread.
- Use half whole wheat flour instead of all-purpose for a healthier loaf packed with fiber.
How to Store and Reheat
Storing
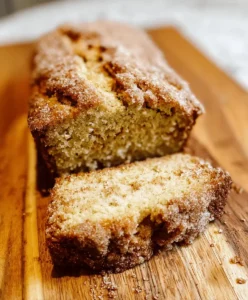
Keep any leftover garlic herb cheese bread in a sealed container or wrapped tightly in plastic at room temperature for up to three days. For longer storage, wrap it well in foil and freeze it for up to three months. Slice the loaf before freezing so you can grab just what you need later—this approach works nicely with Cinnamon Swirl Bread, too.
Reheating
To warm leftovers, pop slices in a toaster or heat them in a 350°F (175°C) oven for 5 to 10 minutes. This brings back the crispy crust and melty cheese just like fresh-baked. Or turn cold slices into a pressed Italian picnic sandwich loaf for an easy make-ahead lunch.
Answers to Common Questions
- Can I make this bread ahead of time? Totally! Just prepare and let the dough rise, then shape it and refrigerate overnight before finishing with a second rise and baking.
- What if I don’t have fresh herbs? You can substitute dried herbs. Since they’re stronger, use about one teaspoon dried for every tablespoon of fresh called for.
- Is it okay to add more cheese? Yes, but be mindful not to add too much or it might be hard to roll and could spill out while baking. For a quick visual on rolling and sealing a cheesy filling, see the step-by-step pizza rolls recipe.
- Can I make gluten-free garlic herb cheese bread? You sure can using a gluten-free all-purpose mix, but the texture will be a little different than traditional bread.
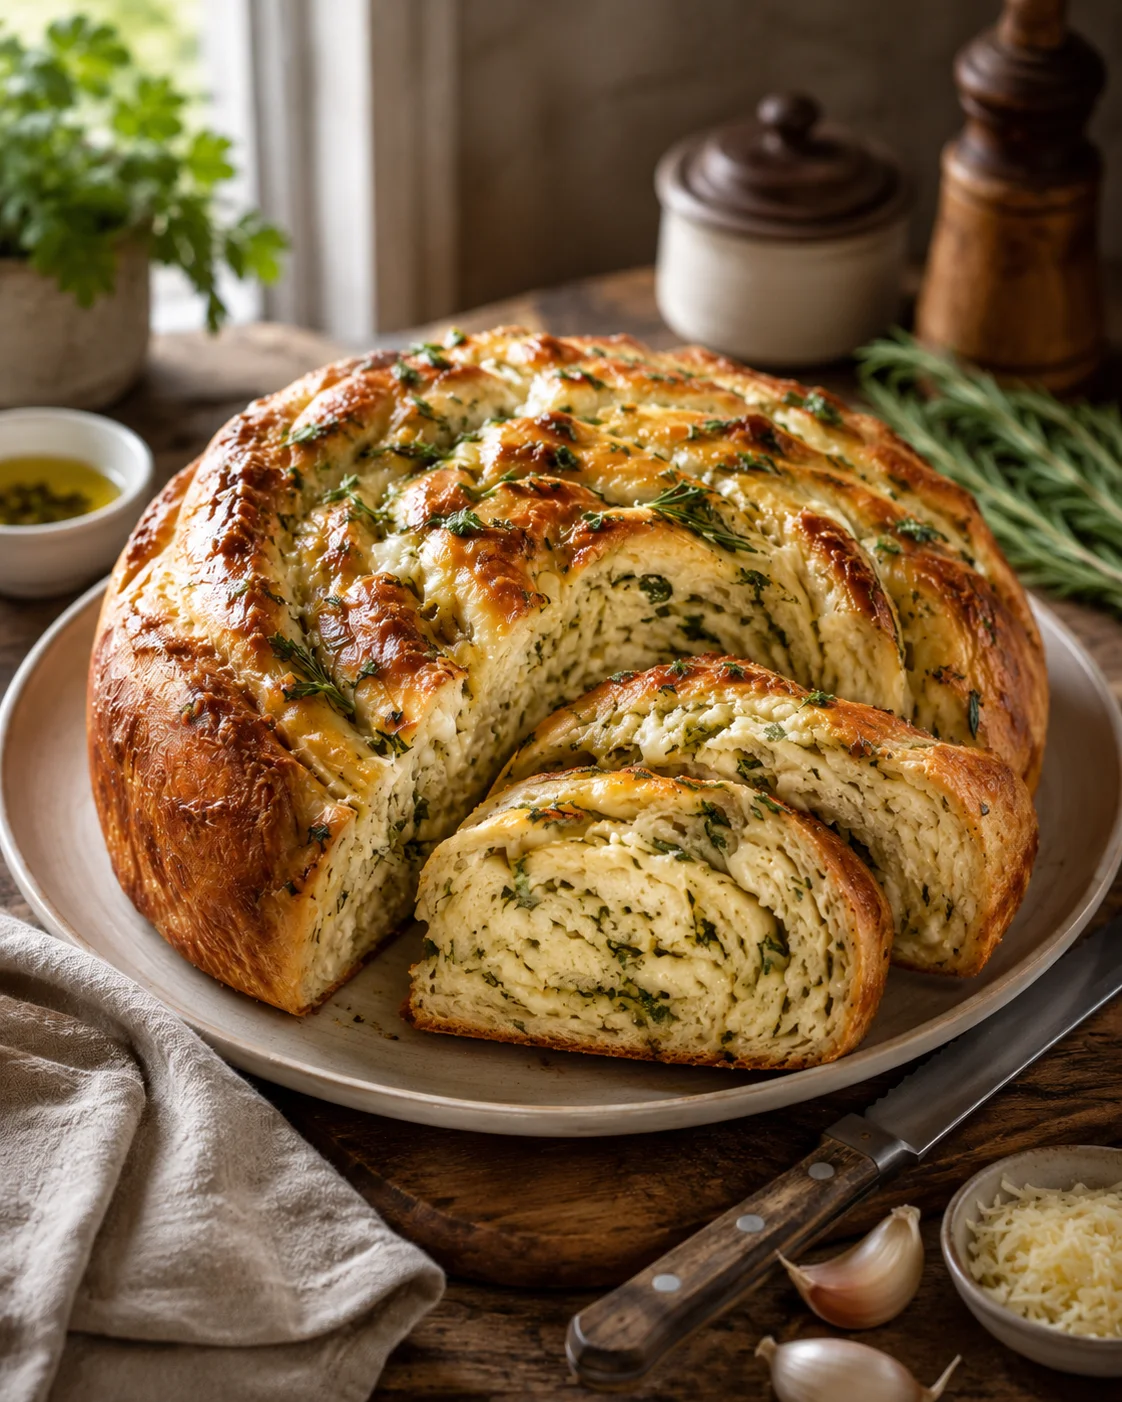
A cozy homemade bread loaf featuring a swirl of garlicky herbs and melted cheese, perfect as a side with soups or salads, or enjoyed warm with butter.
- Prep Time: 20 minutes
- Cook Time: 25-30 minutes
- Total Time: 2 hours 15-20 minutes (including rises)
- Yield: 1 loaf (about 12 servings) 1x
- Category: Bread
Ingredients
- 3 cups all-purpose flour
- 1 packet (2¼ teaspoons) active dry yeast
- 1 tablespoon sugar
- 1 teaspoon salt
- 1 cup warm water (about 110°F)
- ¼ cup olive oil
- 4 cloves garlic, minced
- 2 tablespoons fresh parsley, chopped
- 1 tablespoon fresh rosemary, chopped
- 1 cup shredded cheese (mozzarella or cheddar)
Instructions
- Mix 1 cup warm water (about 110°F), 1 tablespoon sugar, and 2¼ teaspoons active dry yeast in a large bowl and let sit 5–10 minutes until foamy.
- Add ¼ cup olive oil, 1 teaspoon salt, and 3 cups all-purpose flour gradually, stirring until a soft, slightly sticky dough forms.
- Turn dough onto a lightly floured surface and knead 8–10 minutes until smooth and elastic.
- Place dough in a bowl lightly brushed with oil, cover with a towel or cling wrap, and let rise in a warm place until doubled in size (about 1 hour).
- Meanwhile, combine 4 cloves minced garlic, 2 tablespoons chopped parsley, 1 tablespoon chopped rosemary, and 1 cup shredded cheese in a bowl to make the filling.
- Punch down the risen dough and roll it out on a lightly floured surface into a rectangle about 1/4 inch thick.
- Spread the garlic, herb, and cheese mixture evenly over the rolled dough and press gently to adhere.
- Starting on the long side, roll the dough tightly into a log, pinch the edges to seal, and place seam-side down in a greased loaf pan or twist into a coil and set on a baking sheet.
- Cover the shaped loaf and let rise 30–45 minutes until puffed.
- Preheat oven to 375°F (190°C); bake 25–30 minutes until golden brown and hollow-sounding when tapped, then cool briefly in the pan, transfer to a wire rack, and cool about 10 minutes before slicing.
Notes
Ensure the water temperature is about 110°F to activate yeast without killing it., Do not skip the second rise to achieve a light and airy bread texture., Use a serrated knife when slicing to maintain the soft crumb’s integrity., Experiment with different cheeses and herbs to find preferred combinations., Avoid overfilling the bread to prevent spillage during baking., Leftovers can be stored at room temperature for up to 3 days or frozen for up to 3 months; slice before freezing for convenience., Reheat slices in a toaster or in a 350°F oven for 5-10 minutes for best texture., To make ahead, prepare dough and let rise, then refrigerate after shaping overnight before final rise and baking., Use dried herbs as a substitute for fresh, with about 1 teaspoon dried per tablespoon fresh., Gluten-free variations are possible using gluten-free flour blends but may alter texture., Dairy-free cheese can be used for those avoiding dairy.
Nutrition
- Serving Size: 1 slice (approximate)
- Calories: Approx. 180-220 calories per slice (varies with cheese type and slice thickness)
- Fat: Approx. 7g per slice
- Carbohydrates: Approx. 25g per slice
- Protein: Approx. 7g per slice