Pumpkin Pie Cheesecake Truffles

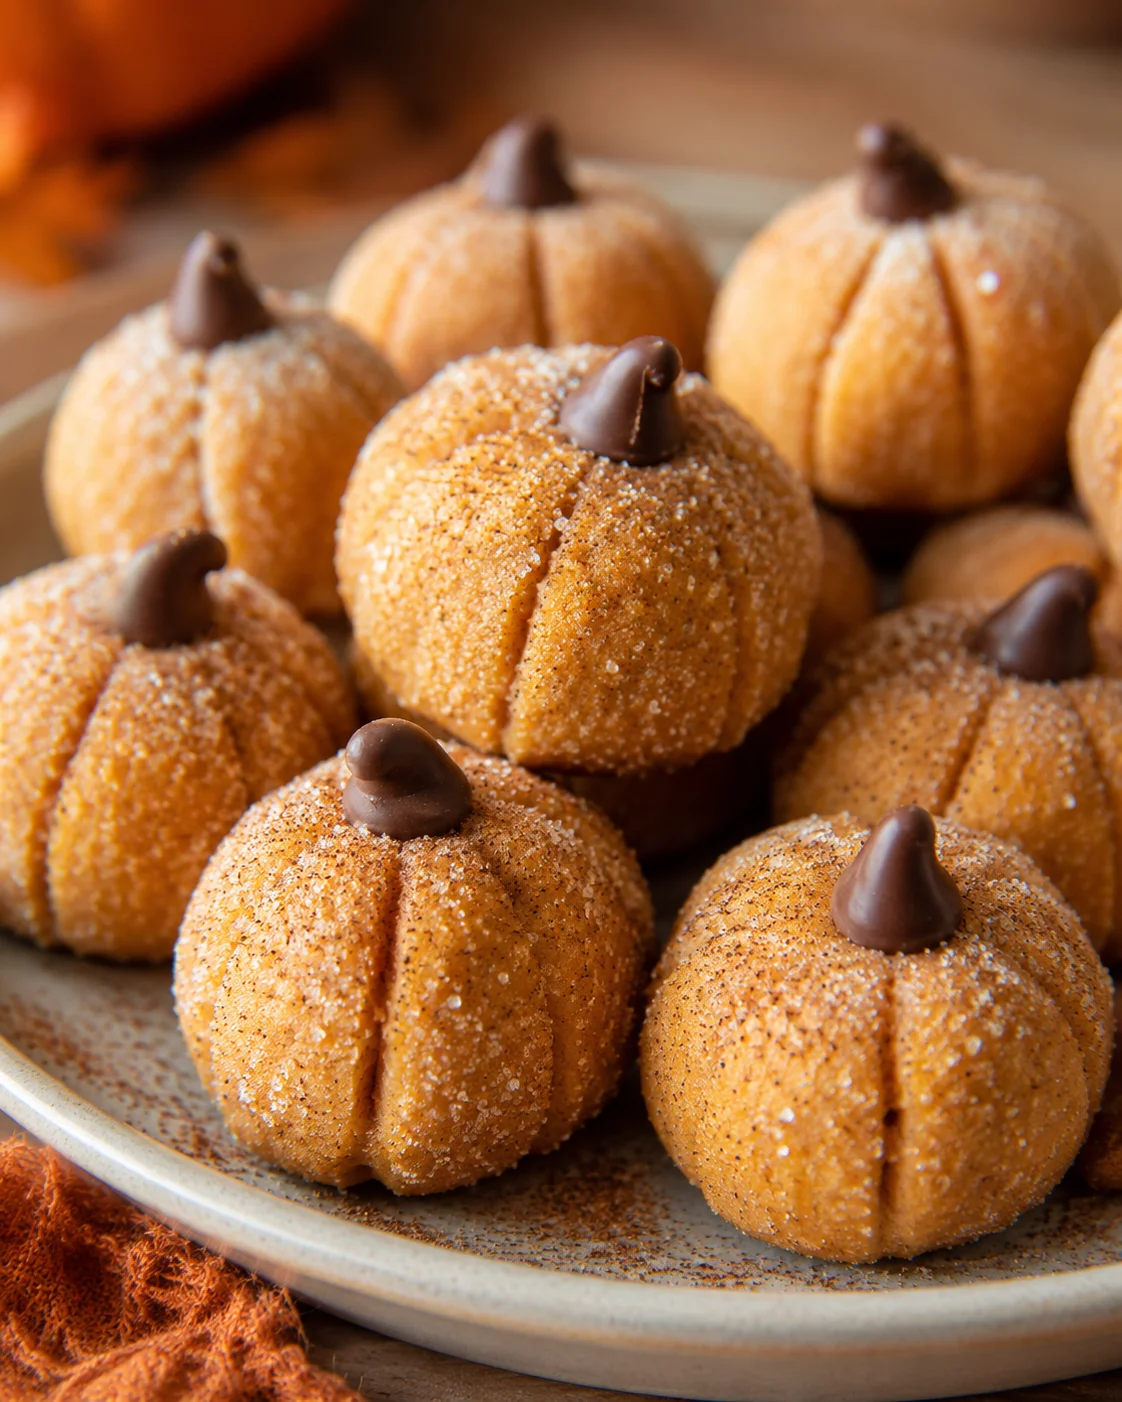
These pumpkin cheesecake truffles are little no-bake bites of fall magic that look just like tiny pumpkins. You’ll start by cooking up a creamy, spiced pumpkin cheesecake filling on the stove, then mix in white chocolate and graham cracker crumbs for texture. After chilling until firm, you’ll roll them into balls, coat them with sugar, carve ridges with a toothpick, and top each one with a chocolate chip “stem.” They’re a festive, fuss-free dessert that’s perfect for party platters or the Thanksgiving dessert spread.
These no-bake pumpkin cheesecake truffles are the perfect tiny sweet treat for fall. Imagine cute little pumpkins you can eat in one bite—so fun to share at gatherings or lay out on your Thanksgiving dessert table. The process is simple: heat up a spiced pumpkin cheesecake mixture, stir in white chocolate and graham cracker crumbs, chill it until it’s firm, then roll into balls, coat with sugar, carve pumpkin grooves with a toothpick, and finish each with a chocolate chip stem.
The hands-on time here is minimal because most of the work happens during chilling (you’ll want at least a couple of hours for the filling to set). You’ll get a creamy, pumpkin pie–inspired flavor that’s balanced perfectly by cream cheese and graham cracker crumbs. Plus, these are super flexible, easy to make ahead of time, and decorate without any stress.
- Here’s what this recipe gives you: a step-by-step, no-bake method, handy pro tips, mix-in and substitution options, plus storage and freezing tips so you can plan your prep like a pro.
What Makes Them So Good
- No-bake and super quick to pull together—most of the time is just chilling, so you can multitask; for another oven-free fall dessert, try vegan chocolate swirl pumpkin fudge.
- Perfect single-bite treats that are both adorable and easy to pass around.
- Rich, balanced flavor with pumpkin pie spice and cream cheese that taste just like pumpkin pie, without being too sweet. If you want a full cheesecake with that same profile, try this creamy high-protein pumpkin cheesecake.
- Great for make-ahead because you can keep extras chilled or frozen, ready for any gathering.
Ingredient Checklist
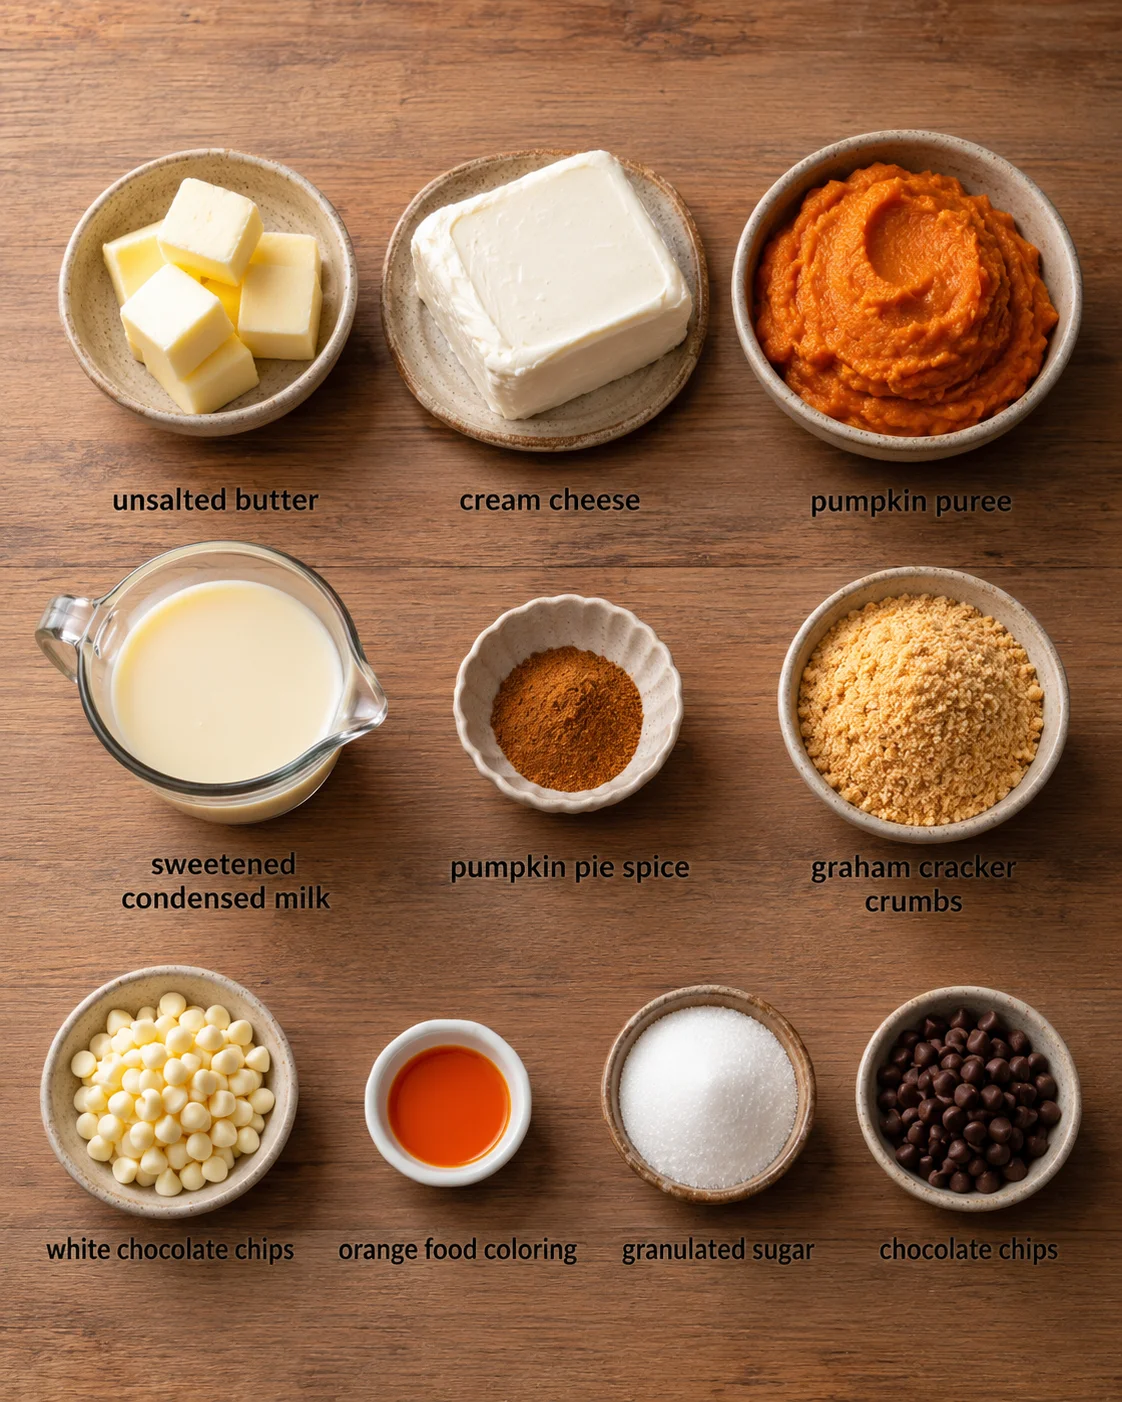
- 1 tablespoon unsalted butter
- 4 oz cream cheese, softened to room temperature
- 1/2 cup pumpkin puree (make sure it’s plain, not pie filling)
- 1 (14 oz) can sweetened condensed milk
- 2 teaspoons pumpkin pie spice
- 1/2 cup graham cracker crumbs
- 1/2 cup white chocolate chips or melting wafers
- Orange food coloring (for that perfect pumpkin hue)
- Granulated sugar, for rolling and coating
- Chocolate chips, to top as pumpkin “stems”
Cook, Chill, Shape, and Finish
- Combine butter, softened cream cheese, pumpkin puree, sweetened condensed milk, and pumpkin pie spice in a medium saucepan over medium heat and whisk constantly until smooth and beginning to thicken.
- Remove the pan from heat and stir in white chocolate chips or melting wafers; if not fully melted, return to very low heat and stir until fully combined.
-
Fold in graham cracker crumbs and a few drops of orange food coloring, then cook just until the mixture thickens further and starts to pull away from the pan edges.
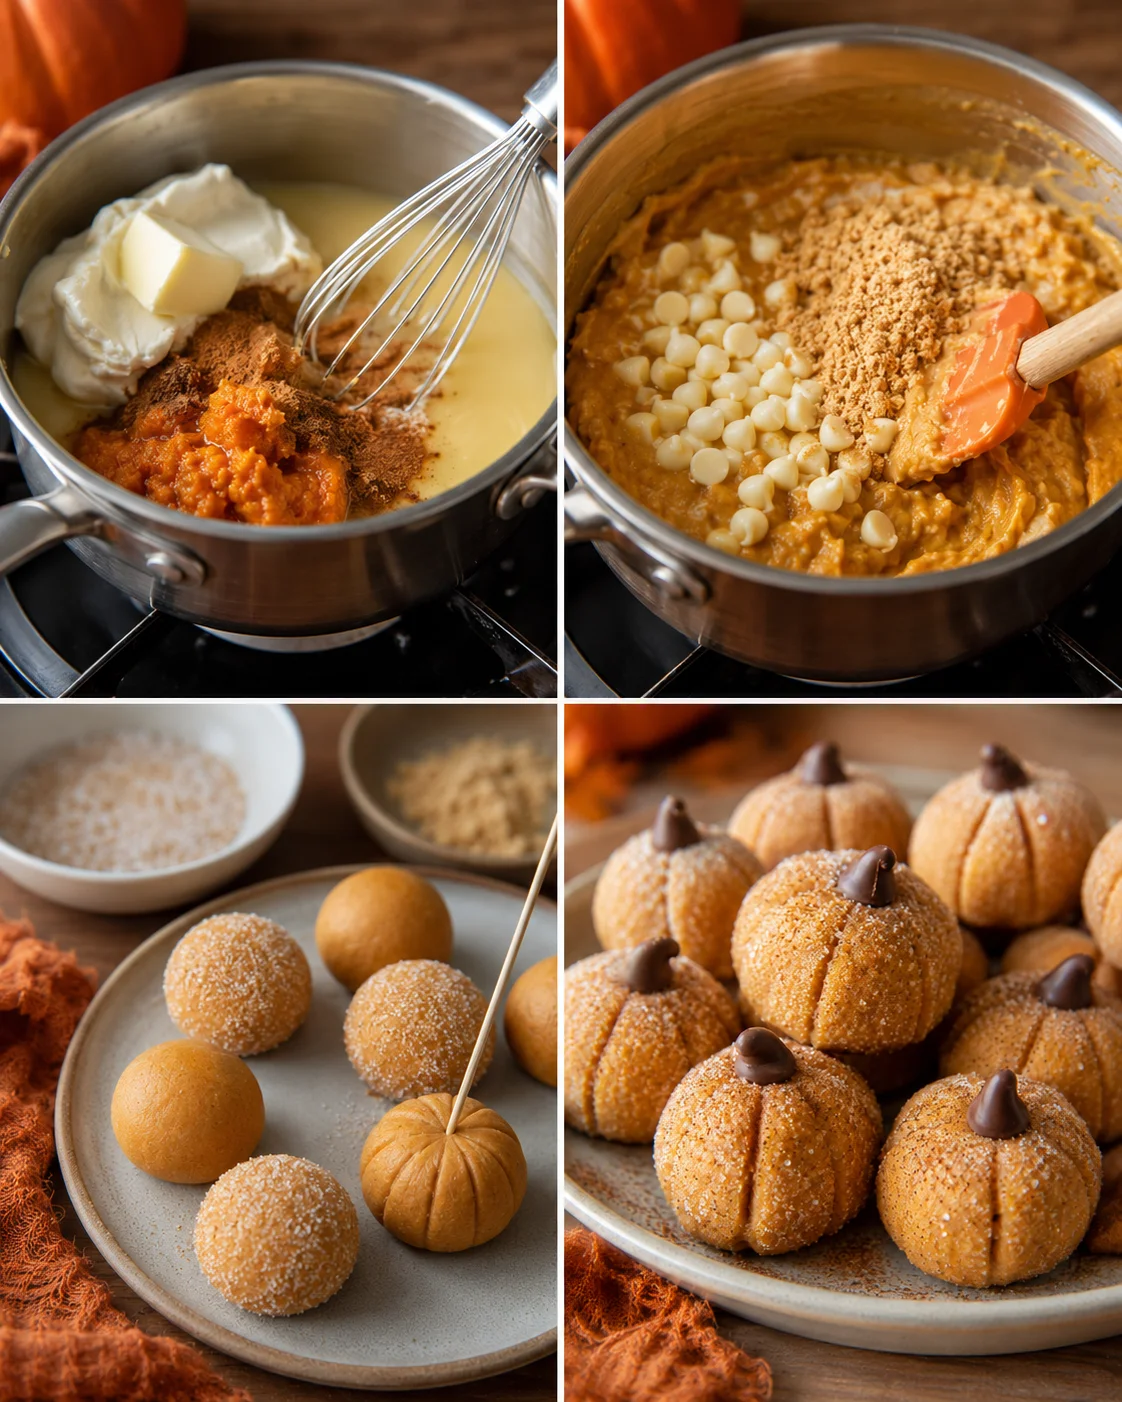
- Lightly grease a baking sheet, spread the mixture into a smooth, even layer, and refrigerate at least 2 hours or overnight until firm.
- If the chilled mixture is too soft to roll, chill longer or stir in an extra tablespoon or two of graham cracker crumbs to firm it up.
- Lightly grease your hands with butter, scoop or pinch small portions (use a small cookie scoop for even sizes), and roll each portion into a smooth ball.
- Pour granulated sugar into a shallow bowl and roll each ball in the sugar to coat.
- Use a toothpick to gently press vertical grooves into each truffle to mimic pumpkin ridges.
- Press a chocolate chip into the top of each truffle to form a “stem.”
- Return the finished truffles to the refrigerator until ready to serve.
Expert Tips for Success
- Make sure your cream cheese is really softened before you start for the smoothest filling — no lumps here!
- Keep heat medium to low and whisk constantly during cooking to avoid scorching the mixture — the same gentle method you’d use for a creamy egg custard.
- When you add the white chocolate, remove the saucepan from direct heat if the chips are close to melting so you don’t get grainy or seized chocolate; for a quick refresher, see our chocolate melting and dipping tips.
- If, after chilling, the mixture feels too soft to roll, just chill a bit longer or stir in an extra tablespoon or two of graham cracker crumbs to firm it up.
- A small cookie scoop is your best friend here for truffles that are all the same size; smaller truffles also chill and set faster.
- Roll the truffles in sugar when they’re cold—the coating sticks better and looks neater.
- When using a toothpick to carve grooves, be gentle and rotate the truffle slowly so the ridges are even without breaking the shape.
Flavor Swaps and Add-Ins
- Swap out graham cracker crumbs for gingersnap crumbs for a warming, spiced twist that amps up the fall flavor—think the cozy spice profile in Easy Baked Pumpkin Donuts.
- Use cream cheese–friendly melting wafers in orange or leave them plain white instead of white chocolate chips to play with color and taste.
- For a richer look and extra chocolatey bite, dip finished truffles in melted dark or semisweet chocolate instead of rolling in sugar.
- Add a splash of bourbon or maple syrup (1–2 teaspoons) to the filling for grown-up flavor with a cozy vibe—maple lovers might also enjoy these Maple Donut Bars.
- Feel free to make mini or jumbo truffles depending on your event—just adjust chilling time accordingly to get that perfect firmness.
- Use gluten-free graham crackers if you need a gluten-free option without sacrificing taste.
Storage and Make-Ahead Tips
Keep these pumpkin cheesecake truffles fresh by storing them in an airtight container in the fridge for up to 5 days. If you want to make them ahead for later, freeze them in a single layer on a baking sheet until solid, then transfer to a freezer-safe container or bag. They keep well this way for up to 1 month. When you’re ready to enjoy, thaw them overnight in the fridge. And a quick heads-up: because they contain cream cheese, don’t leave these truffles out at room temperature for more than 2 hours to keep them safe and tasty—the same guideline applies to other cream cheese desserts like carrot cake with cream cheese frosting.
Answers to Common Questions
-
Can I use pumpkin pie filling instead of pumpkin puree?
It’s best to go with plain pumpkin puree here. Pumpkin pie filling already has added sugar and spices, which can throw off the balance of sweetness and spice in these truffles.
-
Can I make these ahead of time?
Absolutely! You can make the filling and chill it up to 24 hours before rolling into truffles. Once shaped, they keep in the fridge for about 5 days or can be frozen for up to a month. If you’re planning a make-ahead pumpkin dessert for entertaining, this Pumpkin Cottage Cheese Cheesecake sets up beautifully overnight.
-
Why didn’t my mixture pull away from the sides of the pan?
If that didn’t happen, your mixture probably needs a little longer on the stove to thicken. Keep cooking gently, stirring often, until the sides start to release.
-
Can I use regular chocolate instead of white chocolate?
You can, but it changes both color and flavor. White chocolate or melting wafers keep these truffles looking bright pumpkin orange and tasting creamy and smooth — perfect for the theme.
-
My white chocolate seized — what should I do?
If your chocolate gets grainy, try stirring in a teaspoon of neutral oil and mixing gently off the heat. Warming it very briefly over low heat while stirring can also help. The best way to avoid this is to melt the chocolate slowly and remove the pan from heat once the chips start softening.
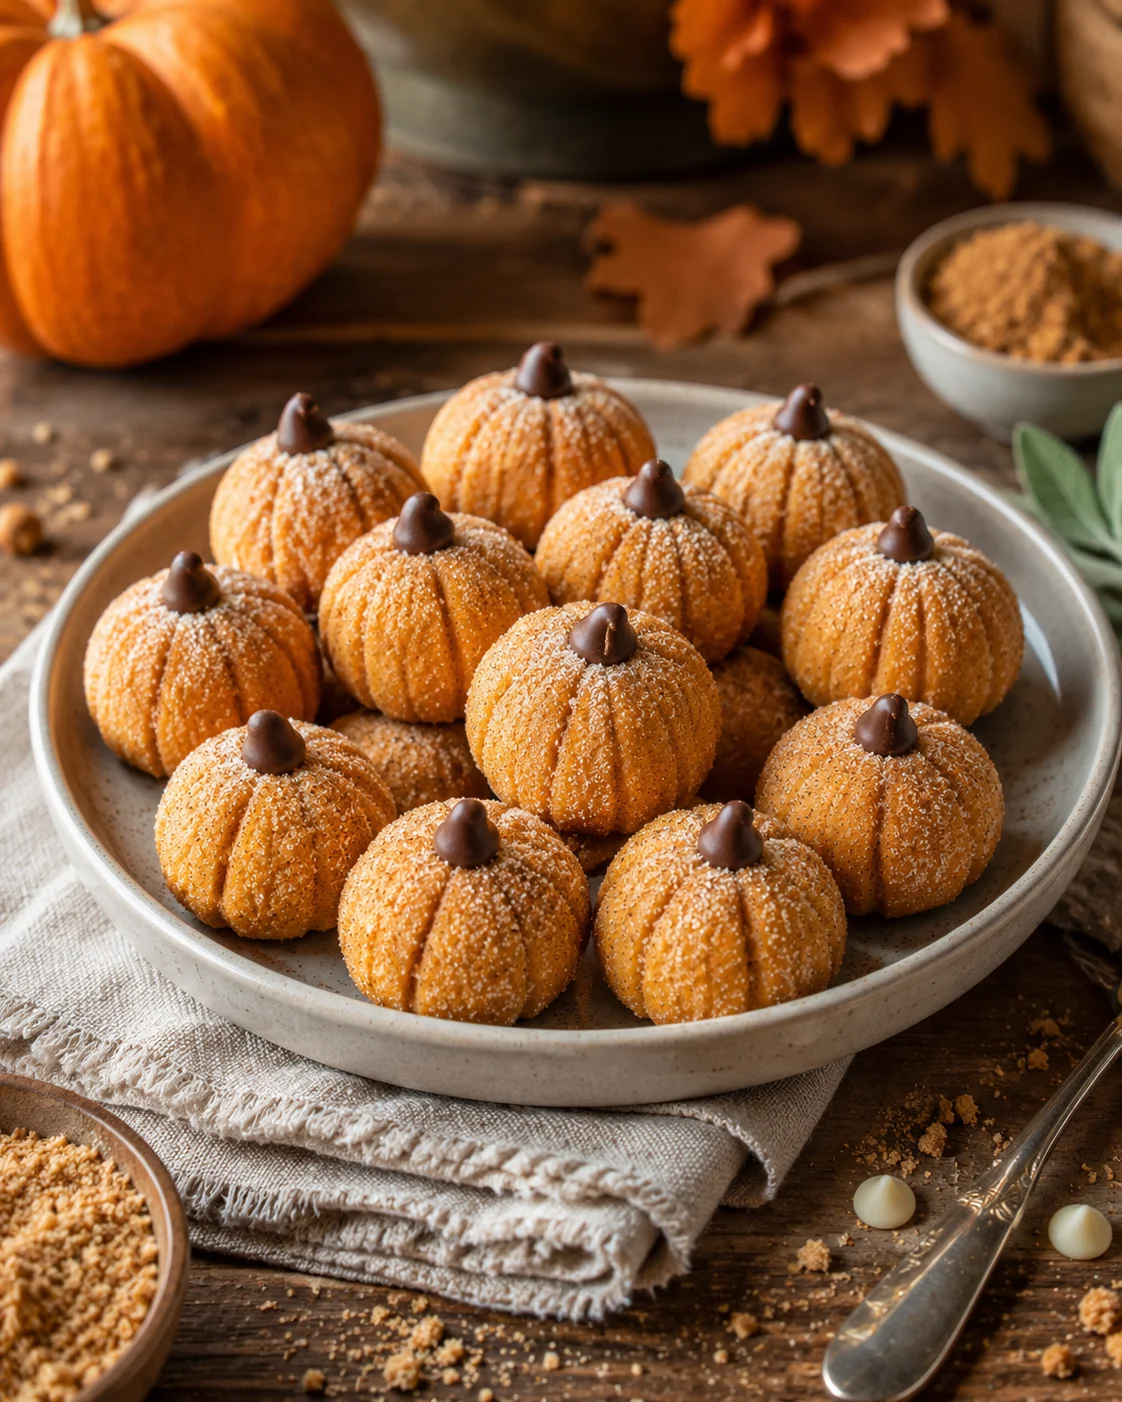
No-bake, bite-sized pumpkin cheesecake truffles with a creamy, spiced filling, white chocolate, and graham cracker crumbs, shaped and decorated to look like tiny pumpkins.
- Prep Time: 15 minutes
- Cook Time: 15 minutes
- Total Time: 2 hours 30 minutes
- Yield: Approximately 24 small truffles 1x
- Category: Dessert
Ingredients
- 1 tablespoon unsalted butter
- 4 oz cream cheese, softened to room temperature
- 1/2 cup pumpkin puree (plain, not pie filling)
- 1 (14 oz) can sweetened condensed milk
- 2 teaspoons pumpkin pie spice
- 1/2 cup graham cracker crumbs
- 1/2 cup white chocolate chips or melting wafers
- Orange food coloring (for color)
- Granulated sugar, for rolling and coating
- Chocolate chips, to top as pumpkin ‘stems’
Instructions
- Combine butter, softened cream cheese, pumpkin puree, sweetened condensed milk, and pumpkin pie spice in a medium saucepan over medium heat and whisk constantly until smooth and beginning to thicken.
- Remove pan from heat and stir in white chocolate chips or melting wafers; if not fully melted, return to very low heat and stir until fully combined.
- Fold in graham cracker crumbs and a few drops of orange food coloring, then cook until mixture thickens further and starts to pull away from pan edges.
- Lightly grease a baking sheet, spread mixture into a smooth, even layer, and refrigerate at least 2 hours or overnight until firm.
- If mixture is too soft to roll, chill longer or stir in an extra tablespoon or two of graham cracker crumbs to firm it up.
- Lightly grease hands with butter, scoop or pinch small portions (use a small cookie scoop for even sizes), and roll each portion into a smooth ball.
- Pour granulated sugar into a shallow bowl and roll each ball in sugar to coat.
- Use a toothpick to gently press vertical grooves into each truffle to mimic pumpkin ridges.
- Press a chocolate chip into the top of each truffle to form a stem.
- Return finished truffles to the refrigerator until ready to serve.
Notes
Use softened cream cheese for smooth filling without lumps., Whisk constantly during cooking to avoid scorching., Remove pan from direct heat when adding white chocolate to avoid grainy or seized chocolate., Roll truffles in sugar when cold for better coating adhesion., Be gentle when carving pumpkin grooves with a toothpick to avoid breaking shape., Optional substitutions: use gingersnap crumbs instead of graham cracker crumbs, or cream cheese–friendly melting wafers in different colors., For extra chocolate flavor and appearance, dip truffles in melted dark or semisweet chocolate instead of rolling in sugar., Add 1-2 teaspoons bourbon or maple syrup to filling for a grown-up flavor., Use gluten-free graham crackers for a gluten-free option., Store truffles in airtight container in fridge up to 5 days or freeze for up to 1 month; thaw overnight in fridge before serving., Do not leave truffles out at room temperature for more than 2 hours due to cream cheese content.
Nutrition
- Serving Size: 1 truffle
- Calories: Approximately 90 calories per truffle
- Fat: 4.5 g per truffle
- Carbohydrates: 12 g per truffle
- Protein: 1.2 g per truffle